It's getting close to Valentine's Day, so it's time to switch out my seasonal printable frame (you can find winter here, fall here, and Christmas here). For Valentine's Day I decided to use a little 1 Corinthians Valentine Subway Art.
I found this amazing free Valentine printable from The Girl Creative. Make sure to leave her some love for providing it for free if you chose to use it, too. To customize it, I printed it out on a subtly patterned paper form Pebbles Inc's Yours Truly collection.
I added a little extra sparkle by matting it on some blue American Craft Pow! glitter paper. I mean, if you can't use glitter for Valentine's Day, when can you use it.
I put some rhinestones on here and there and used a Zig Wink of Stella brush to add some glitter to some of the red words. on the printable.
I popped in in my frame, and I'm all set for Valentine's Day.
Thanks for stopping by!
Friday, January 30, 2015
Wednesday, January 28, 2015
Game Night Layout
We love playing games at our house. We play them a lot, but every once in a while we declare it an official family game night. Our most recent game night brought The Game of Life, lots of giggling, and the photo for this Game Night Layout.
I grabbed American Craft's Shimelle collection for this layout. Mostly I grabbed it because I really love it, and I haven't had a chance to play around with it.
Then, I found this "I just want to stay home" sticker in the matching sticker pack and knew it was meant to be. I really love the pops of gold in this collection, too.
I played the gold up by adding gold alphas and some gold accents with a paint pen.
I added the "love" to my photo before printing it, but then added a gold sticker in place of the "o" in love.
Thanks for stopping by today!
Labels:
American Crafts
Tuesday, January 27, 2015
Spring Thank You Card
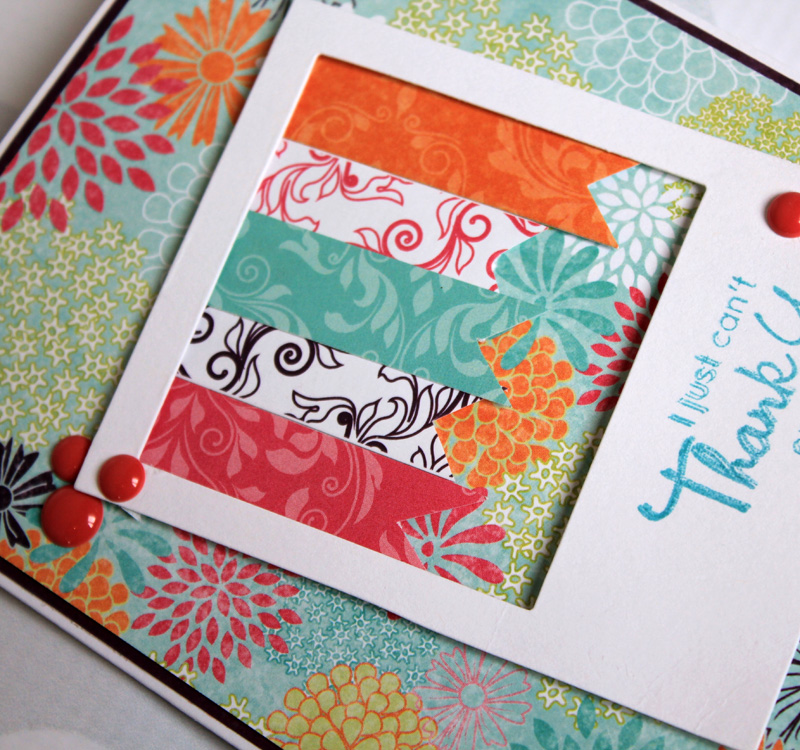
Here's a peek of the spring thank you card I'm sharing over on the Moxxie blog today. Head on over there to see the whole thing.
I hope you're having a great week!
I hope you're having a great week!
Labels:
Moxxie
Friday, January 23, 2015
Candy Creations Class
Looking for some fun ways to wrap up candy? Here's some info on a class I'm teaching in February at A Walk Down Memory Lane.
Cute Candy Creations


Join
Samantha to wrap up candy for gifting, party favors, or holiday treats.
There will be 4 projects including a nugget tin and candy bar wrapper.
We'll be focusing on birthday and Valentine's Day themes during this
class but projects can easily be modified for any holiday, weddings, or
fun occasions.
Monday, February 9 at 6 pm
Cost $20
Call AWDML at (712)476-3443 to reserve your spot
Tuesday, January 20, 2015
Ball Game
Ok, I know it's cold outside, but I've never been one to scrap in order. Recently, I picked up Moxxie's At the Ballpark because I had this great picture to scrap of my favorite guys at the ball game.
I love the vintage feel of this collection. Most of the baseball collections I have are a lot brighter, so it was fun to work with something a little different. I love how the different shades of sepia and muted colors really compliment the photo and let it pop.
Wood embellishments had the perfect feel this layout. Studio Calico's wood veneer chevrons are some of my very favorite. The best part was I didn't even need to alter them with ink or paint, since the natural wood complimented the colors so well.
I also couldn't help but use this Boys of Summer sticker. I popped it up with some foam adhesive to give the layout a little more dimension.
I can't wait to spend more days at the ballpark next summer. In the mean time I'll just have to scrap about it!
Thanks for stopping by!
Labels:
Moxxie
Friday, January 16, 2015
Moxxie Springtime Thank You Card
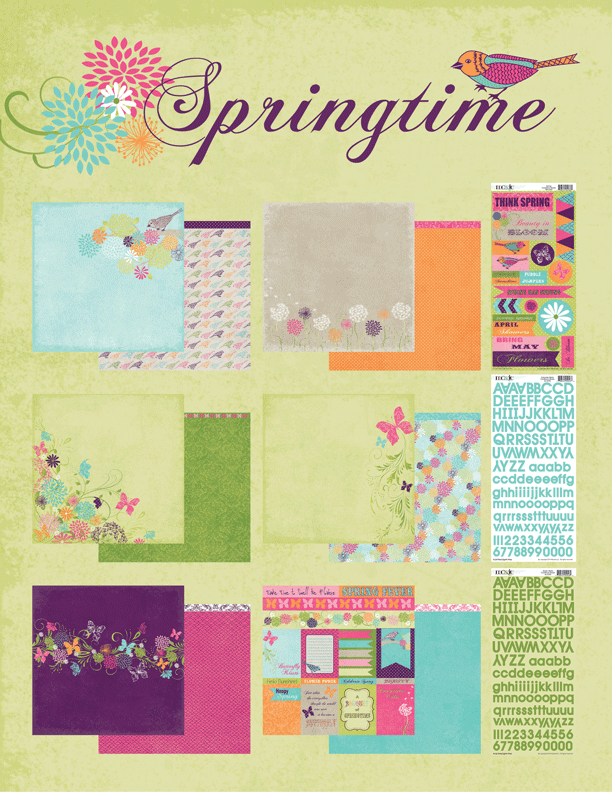
Today I have a Moxxie Springtime thank you card. I need a lot of thank you cards at the end of the school year, so I thought it would be great to get a head start and have some fun playing with Moxxie's new release, Springtime.
I went for a really clean card, making use of a lot of white space.
Most of my paper came from the little UPC strips at the bottom of the 12 x 12 sheet. I love that Moxxie adds in a pattern to those little strips. Using them here on this card makes me feel like I'm not wasting any part of this fun new collection!
For my greeting on this card, I used My Favorite things Polka Dot Greetings. Stamping "Thank You" in white ink made the greeting pop against the plum paper.
One card down, about a dozen left to go! Have a great weekend.
Thanks for stopping by.
Labels:
Moxxie,
My Favorite Things
Wednesday, January 14, 2015
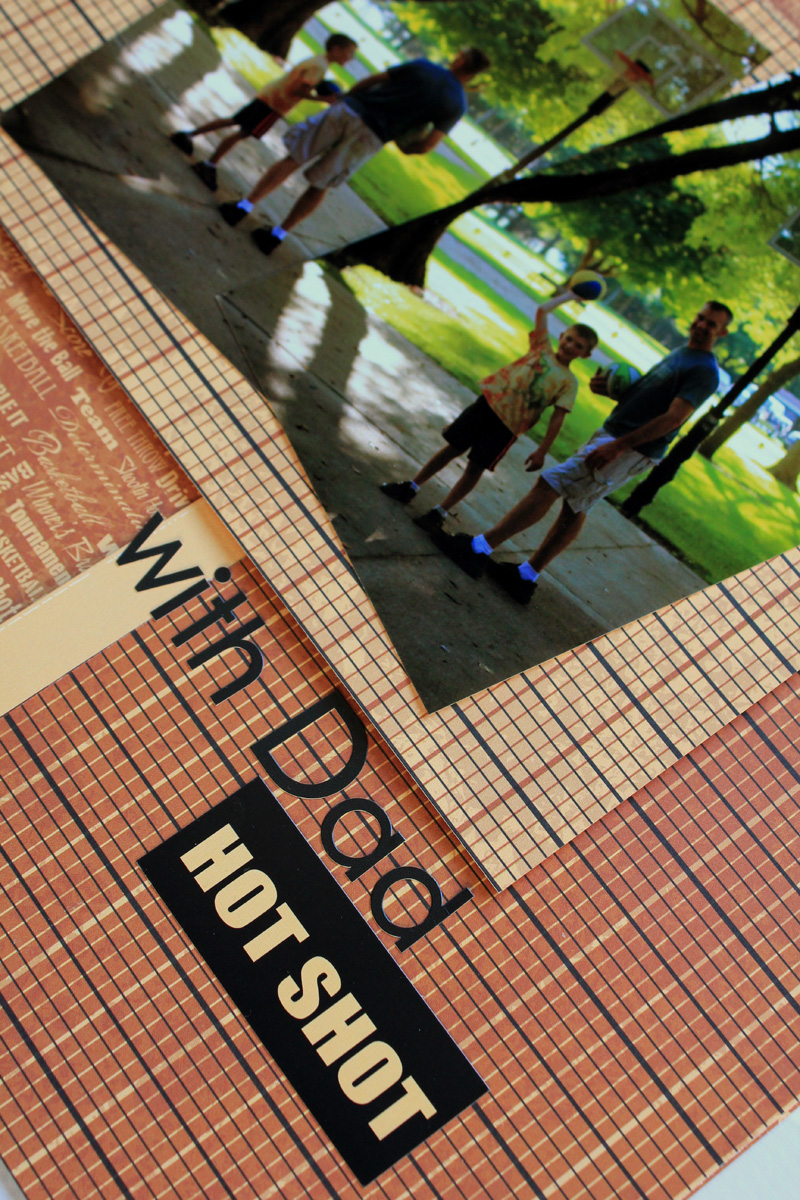
Moxxie Basketball
Moxxie released a whole bunch of new collections at CHA. Today they're showing the new collection Basketball off over on the blog, and you'll be able to see one of my layouts from the CHA booth using it. Head on over to the Moxxie blog to check it out.
Labels:
Moxxie
Monday, January 12, 2015
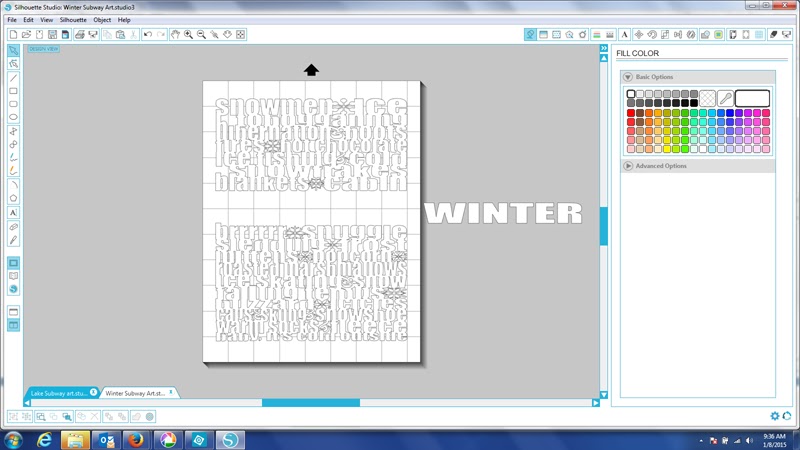
Winter Subway Art - Creating a Printable File from a Silhouette Cutting File
I picked up a frame a while back that I decided to fill with a Fall Printable. When Christmas rolled around, I decided to create a Christmas printable to put in the frame instead. Now that winter is here in full force and my Christmas decorations are properly tucked away, the frame needed some winter subway art.
I wanted something quick, so instead of creating my own printable this time, I decided to look for something in the Silhouette store. I found what I wanted, but it was a cut file that I needed to fill with color and turn into a printable instead. It's an easy thing to do and opens up a whole new world of possibilities for your Silhouette. In case you have the desire to try this yourself, I have a little step by step tutorial today (if the photos are too small, just click on them and they'll pop up to full size photos).
Start by opening up your file and sizing it to the size you want it to be (I sized my page to 8 1/2" x 11", because that is the size of the paper I will be running through my printer. Then I sized my image to 7 1/2" 9 1/2", because that is the size of the opening in the frame I'm using).
Next, click on the tab in the upper right hand corner that takes you to line colors (it's the one with a bunch of colored lines on it). Click on your entire image, then click on the color you want the outline of your image (in my case all of the words) to be. I used a medium grey. If you don't want any outline showing, choose white.
I wanted "WINTER" to be a different color than the rest of the words, so I ungrouped the image by right clicking on it and selecting ungroup from the pop up menu.
Then I slid "WINTER" off to the side out of my working area.
To color the inside of your words, click on the "Fill Color Tab" (which looks like a bucket dumping out paint). For a solid color, chose a preset color button. If you don't like any of the basic color options, click on advanced options and chose any color under the sun.
Instead of having a solid colored image, I wanted to a a fade to it. In order to do this, you need to click on the fill gradient tab (it's a square that is one color on top and a different one on the bottom). Click on the type of fade and color you'd like. If you want to change how many different times the image changes color, or where it changes color, open the advanced options area. Under the advanced options, you can add and/or move the color slider around to change the fade. This is a little tough to describe. The best thing to do is play around with it, so you can get the feel of it for yourself.
If you want to change the direction of the fade, there's also a way to do that. See the square with the red line in it? You can move that line around to control the direction of the fade. It can go vertical, horizontal, and even different degrees of diagonal. This is another great one to just play around with to see what happens.
When I had all of that set, I moved the "WINTER" back in place and repeated the process with grey tinting.
Before you can print, you have one last step. Click on the "line style" tab (the one with different continuous and dashed lines on it). Select your entire image, and make sure the "print lines of selected shapes" button is checked.
When you've done all that, all you need to do is click on the file button and click print. I chose to print this image out on a pale blue textured paper.
Now you're all set to frame your printable and enjoy it!
Thanks for stopping by!
Labels:
silhouette
Friday, January 9, 2015
Beautiful Girl Tiny Dancer Layout
I hope you're having a fun time checking out all of Moxxie's Winter 2015 new releases and some of the fun inspiration projects using them. For the hop I created a Beautiful Girl Tiny Dancer Layout.
I know this is a dance themed collection, but when I saw it all I could think was how perfect it would for scrapping my newest little niece in the Mickey hat I knit for her.
All those pretty pinks and greys just begged to be used on this sweet little girl's newborn photo. There are even plenty of stickers that work with my non-dance themed layout.
It's probably good that I don't have a little girl of my own to scrap...I think I could go crazy adding frilly, pleated ribbon.
Thanks for stopping by to check out how I used Tiny Dancer. I hope you're enjoying all of the new collections. Check out all of the blogs on the hop to increase your chances of winning this month's blog hop prize. Don't forget to leave comments along the way. The more you comment the
better chances you have to WIN!
You can also link an entry into our monthly
challenge for an additional chance to WIN!
Here is the whole hop line up:
Extra chances to win include:
Comment- on any (or all) of the designers blogs
Facebook- share the blog hop post or one of the challenge posts (let us know by leaving a link on
the Moxxie blog)
Pinterest- pin any (or all) of these wonderful projects (leave a link for each pin on the Moxxie blog)
Comment- on any (or all) of the designers blogs
Facebook- share the blog hop post or one of the challenge posts (let us know by leaving a link on
the Moxxie blog)
Pinterest- pin any (or all) of these wonderful projects (leave a link for each pin on the Moxxie blog)
Commenting and Challenge end Jan 31st.
Winner announced Mon. Feb 2nd.
Winner announced Mon. Feb 2nd.
Happy Hopping!
Monday, January 5, 2015
Capture Life Leftovers Layout
Once in a while I actually clean my craft room. Not just re-arrange the piles and file things away, but clean it and purge some of the older things. When there's a collection I really love, sometimes I like to take the leftover bits and pieces that I saved and make a layout. This Capture Life leftovers layout is one of those layouts.
I seriously love Echo Park's Capture Life. It's such a fun and vibrant collection that comes in both black and white or color themes. I mixed and matched both lines in the collection, becuase that's how I roll. About 5 or 6 months ago I created this Stingray Beach Layout and this Feeding Stingrays Layout. When I was done with those layouts, the leftovers got filed away, and now they're all being used on this layout.
When I have lots of leftover bits and pieces to work with, I tend to make a layout with lots of layers. to keep things from looking flat, I make sure to add some foam adhesive under some of the layers. You can see in the picture above that I popped the little camera in the middle of the O in "TODAY" up with some foam, and in the picture below I used foam adhesive under the journaling square.
The final result of my leftovers layout is a bit busy, but I think it works overall. In the end, it tells a great story and it helped me use up some paper that I love.
What do you like to do with your scraps? Do you try to use every last bit, or do you end up holding on to them and then throwing them away in the end?
Thanks for stopping by today.
Labels:
Echo Park
Friday, January 2, 2015
Moxxie Giveaway
2014 was a pretty amazing year for me. I'd like to start 2015 off right by spreading the love a bit with a Moxxie giveaway. You can find the Rafflecopter entry form at the end of this post. Moxxie also asked me to create a sketch for all of the Muses to use this month. You can find the sketch over on the Moxxie blog by clicking here. All month the muses will share different layouts and cards they've made with the sketch. Today I'm sharing a here and on the Moxxie blog that I created with my sketch.
I used Moxxie's Winterland for my take on the sketch today because that's what you can win from my giveaway. I took the sketch and rotated it 90 degrees for my layout today. I love that sketches can be followed exactly or just a jump off point for your own creativity!
We get just a little bit of snow and cold here in NW Iowa (and by a little I mean a lot), so Winterland in a staple in my craft room this time of year.
Okay, now on to the good stuff. Here's the prize pack I'll be sending to one lucky entrant. It's full of Winterland 12 x 12 paper, Winterland card stock stickers, Winterland die cuts, and some coordinating 6 x 6 die cut papers.
Entering is easy, just click on the entries below. Thank you so much for taking the time to stop by and share some creativity with me. You can also find me on Facebook, Instagram, Pinterest, and Twitter sharing a little bit of all the crafty things I love.
Subscribe to:
Comments (Atom)


