

I love entertaining. Truth be told, I do it less and less now that I have little kids, but I still love it. I love using my fancy plates, pretty serving dishes, and cloth napkins. When Glue Dots® challenged their Dottesses to create something with birthdays in mind, I decided to honor the dinner party with a Birthday Bow napkin ring. Try it for your next Birthday Party to add a fun, whimsical touch. To make the bow and ring, you'll need:
 Craft Glue Dots®
Pop Glue Dots®
1 large brad
Double-sided patterned paper (I used Fancy Pants' It's Your Day) cut to the following measurements:
1 - 1 1/2" x 6" strip
8 - 3/4" x 4" strips
4 - 3/4" x 3 3/4" strips
1 - 3/4" x 3" strip
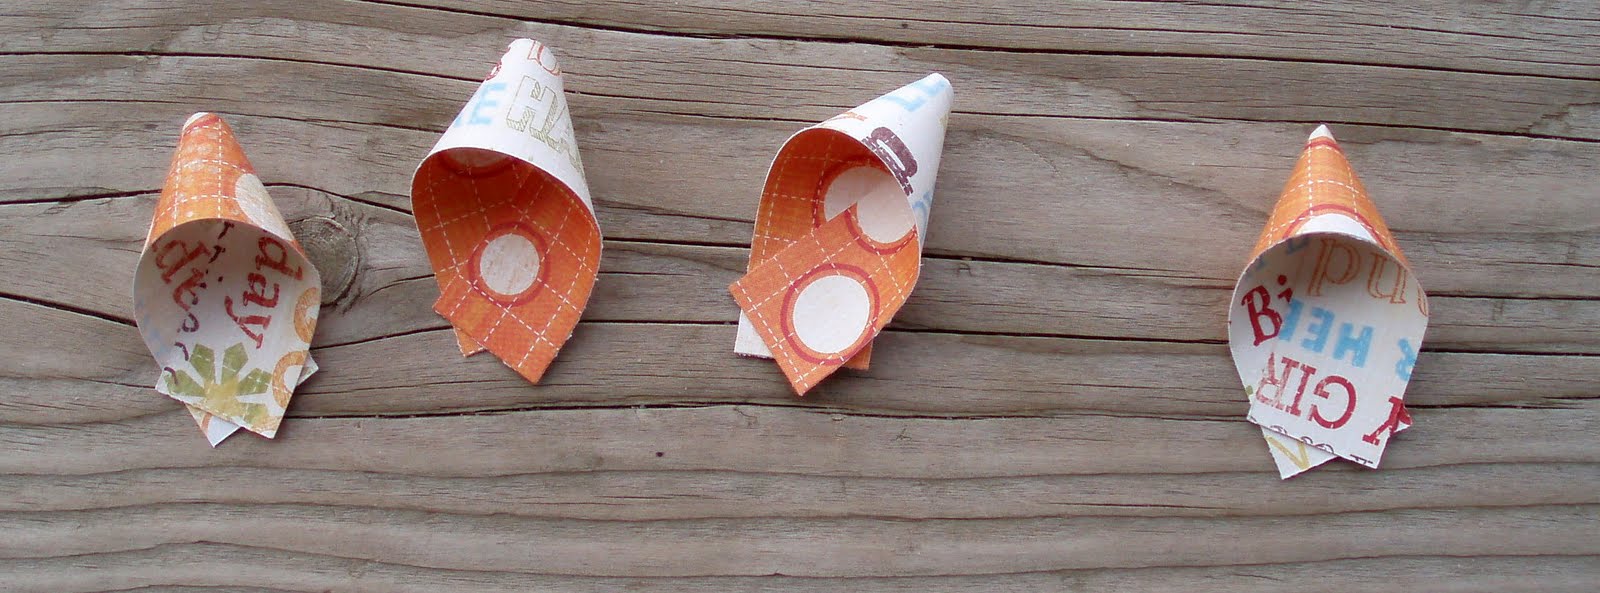 1. Take the 4 - 3/4" x 3 3/4" strips and fold them over on themselves to form a cone shape. Use a Craft Glue Dot® to hold the ends together.
 2. Use Craft Glue Dots® to attach the 4 cones together into a bow shape.
 3. Take the 3/4" x 3" strip of paper and use a Craft Glue Dot® to form a ring. Use another Craft Glue Dot® to attach the ring to the center of the bow.
 4. Repeat steps 1 and 2 with 4 - 3/4" x 4" strips of paper. Put a Pop Glue Dot® in the center.
 5. Use the Pop dot to attach this bow underneath the first, smaller assembled bow.
 6. Repeat steps 1 and 2 with your last 4 strips of 3/4" x 4" paper. Add a Pop Glue Dot® to the center and attach to the bottom of the assembled bow. You will now have a fully assembled bow.
 7. Create the napkin ring by making a loop with a 1 1/2" x 6" piece of paper. Use a large brad to secure the loop in place. Put a Craft Glue Dot® on the top of the brad.
 8. Firmly press the bow onto the the top of the brad (the Craft Glue Dot® will hold it in place). You now have a completed Birthday Bow Napkin Ring.
I wrote this blog post while participating on the Glue Dots® design team.

1 comment:
Great bow, I can't wait to try it. Thanks for sharing.
BrendaLea A. - Purple Lady
prpldy (at) comcast dot net
Post a Comment