Showing posts with label The Twinery. Show all posts

Saturday, December 1, 2012

12 Days of Christmas


The 12 Days of Christmas has begun over at A Walk Down Memory Lane. Each day from today until December 12 you'll find some amazing deals and some inspiring holiday projects. You can check out day 1 by clicking here
I created the project for day 1, and it might just be one of my favorite Christmas Creations. I'll give you a little sneak peak here, but you'll have to head on over to AWDML's blog to see all the close up photos and check out the supply list.


...and don't forget to check out AWDML's blog each and every day from now until December 12 for a new project and a new deal. 

Friday, April 27, 2012

Not so Mini Album

Today I have what could loosely be called a mini album. It's 6" x 6", so it falls into the mini album category, but I stuffed it so full of photos, that it's a little larger than mini. The whole thing is made from My Mind's Eye's Miss Caroline Dilly Dally Adventures collection. I fell in love with the colors and patterns in this line immediately, and since I had to have almost everything in the collection, I figured it would be put to best use in a large mini album.


I made the covers out of chip board, just to make it a bit sturdier. The blue star piece behind the title is actually an unfinished wood piece that is part of the Miss Caroline line. I used Tim Holtz Broken China Distressed Ink to stain it.

I love when mini albums are interactive, so the photo on the right hand side of the bottom page opens up to show 2 more photos underneath.


 The photo on the top right side flips up to reveal another photo and journaling about the trip.


 My favorite interactive page is the bottom left page. I made little pockets behind the main photo, and one photo pull out from each side (by pulling on the ribbon). The photo on the bottom right spins up around the brad in the right hand corner to reveal another photo underneath.


The journaling/title tags that go with Miss Caroline were perfect for my album, and really helped make everything come together quite quickly. I raided my leftovers from all different projects to scrounge up a few unexpected touches like the layered giraffe sticker on one of my pages, and some fun word stickers to sprinkle throughout the album. It was a great way to use leftovers and enhance the album!

Thanks for stopping by!


Thursday, December 1, 2011

December 1st means...

... two new featured manufactures at A Walk Down Memory Lane. This month you can shop Bella Blvd and Stampin' Scrappin' at 25% off! I created this layout with Bella Blvd's Hello Fall line. I hope it inspires you.


Thanks for stopping by!

Monday, November 14, 2011

Holiday Open House


This upcoming Saturday, November 19, A Walk Down Memory Lane is having a Holiday Open House from 10 am - 1 pm. If you’re looking to add a  handmade touch to your holidays, you should definitely come by.   They’ll have lots of holiday home decor items, layouts, and cards on display to inspire your creativity and help you get your holidays off to a crafty start.
You can also use these few hours to start your Wish List. They’ll help you compile a wish list card, and even call, email or text your gift givers to remind them of a special shopping night coming up in December!

I've been really busy (and having a blast) coming up with what I hope will be inspiring creations for the open house. Here's a sneak peak at just 1 of the many ideas that will be on display:

This is one in a project in a series I'm doing showing how much you can create from 1 collection pack (I used the Echo Park Seasons Greetings Collection Pack). 

Can't wait to see you there!

Friday, August 5, 2011

Paper Smooches

First up, I have to say, "Wow! It's Friday and I haven't posted anything since Monday." Sorry. I'm already working on a post for tomorrow of a mini album I just finished, so I won't neglect things here so long again.
Second (and this is far more interesting news), I worked at A Walk Down Memory Lane Wednesday night and was thrilled to find out they now have Paper Smooches stamps at the store! I don't think they're at the on-line store yet, but if you shop at the Brick & Mortar store you can get them. I'm having a hard time deciding which set to buy first!
Third, Paper Smooches posts a free digi stamp on-line every month. I'm not super big on using digi stamps (there's just something about getting your fingers inky), but Kim Hughes' Paper Smooches Digi Stamps are too cute to pass up. Plus, did I mention they're free! Here's what I did with this month's free digi:
The image could really be a few different things (grapes, raspberries, blackberries), but since I have this growing in my back yard
I was thinking raspberries. I used twine from The Twinery to fill in the berries. I used a Copic marker to color in the leaves and stem. Since I really wanted the berry to be the focal point I kept the rest of the card quite basic with a kraft on kraft color scheme. I inked the top layer of kraft card stock with white ink and used foam dimensional adhesive to attach it to the bottom layer. The finished card size is 4" x 4".

Thanks for stopping by!

Saturday, May 21, 2011

Getting Lots Done with Sketch Support

I have a lot of crafts on my "to do" list right now, so I decided to spend the week tackling a few of them. I created 3 projects from sketches from the Sketch Support blog. If you haven't checked out Sketch Support, it's worth a look. There are lots of great sketches, and lots of creative projects base off of those sketches. I've mentioned my love for the Sketches for Scrapbooking books before, and the Sketch Support blog is an extension of those books.

This first project is based off of a Sketch Support 1-page sketch.


I picked up Jubilee by The Girls' Paperie at A Walk Down Memory Lane back at the end of April. I've been dying to use it. So glad I finally made the time! Those little flag stick pins are ridiculously fun, and I'm kind of in love with the pearl brads, too. I only started scrapbooking a few years ago, so it was a lot of fun to pull photos from my wedding (almost 7 years ago) and scrap them!

The next layout is from a Sketch Support 2-page sketch:


I've played around a little with Jillibean Soup's Spotted Owl Soup, but not nearly enough, so I decided to dive into my stash for this birthday boy layout.

Last but not least are a set of mini cards from a Sketch Support add-on sketch:


More Jillibean Soup Paper here, but this time it's Blossom Soup and Pasta Fagioli. I'm most in love with the cherries on these cards. The circle cherries are made from twine that I wound and glued down on top of a 3/4" circle. The puff ball cherries were also hand made from twine.

I've got lots more to share with you over the next week...see you Monday!

Sunday, March 13, 2011

Quick Cards

Last week I needed 3 cards, and I had about 1 hr to make all three. Sometimes, I have time to fuss, rearrange, and add lots of detail, but not this time. I needed to mail out 2 St. Patty's Day cards and a birthday card that day. Here's what I came up with:


Here are a few tips for making cards quickly:
1. Stick with what you know. I'm all for pushing yourself and trying new things, but if you're in a hurry now might not be the time. I love mixing and matching patterned papers, so I used that as a starting point.
2. Use paper that you know you have lots of embellishments for. This way you don't have to spend time searching for matching embellishments. For example, I just happened to have the whole Lucky Me collection (thanks to Little Yellow Bicycle!) including matching stickers and buttons.
3. Keep it simple. Often we add lots of "fussy" (read: time consuming) details to cards: stitching, bows, lots of embellishments, stamping... When short on time stick with 1 fussy detail. For example, since I stitched a border on one of the St. Patty's Day cards, I didn't do any stamping. Since I stamped and colored in the chihuahua on the birthday card, I kept the embellishments simple.
4. Finally, remember its the thought that counts! The person you're sending the card to is going to be thrilled to receive something you made, they're not going to be checking to see if every little button or bow is perfect.

Wednesday, December 22, 2010

Turtle Bags

I've posted these fun bags a few other places, but I know I haven't posted them here. I'm handing these out this year to the ladies in my family (and yes those turtles inside are homemade too!).
These were pretty simple. I cut the bags with my Silhouette. I stamped on a piece of acetate (clear plastic) with white Staz-on ink to create the window. The stamp is from My Mind's Eye's I Believe collection. The bags are secured in back with a little bit of twine wrapped around 2 brads. The paper that the bags are created from is Jillibean Soup Christmas Chestnut Soup.

Friday, December 17, 2010

Swinging Card

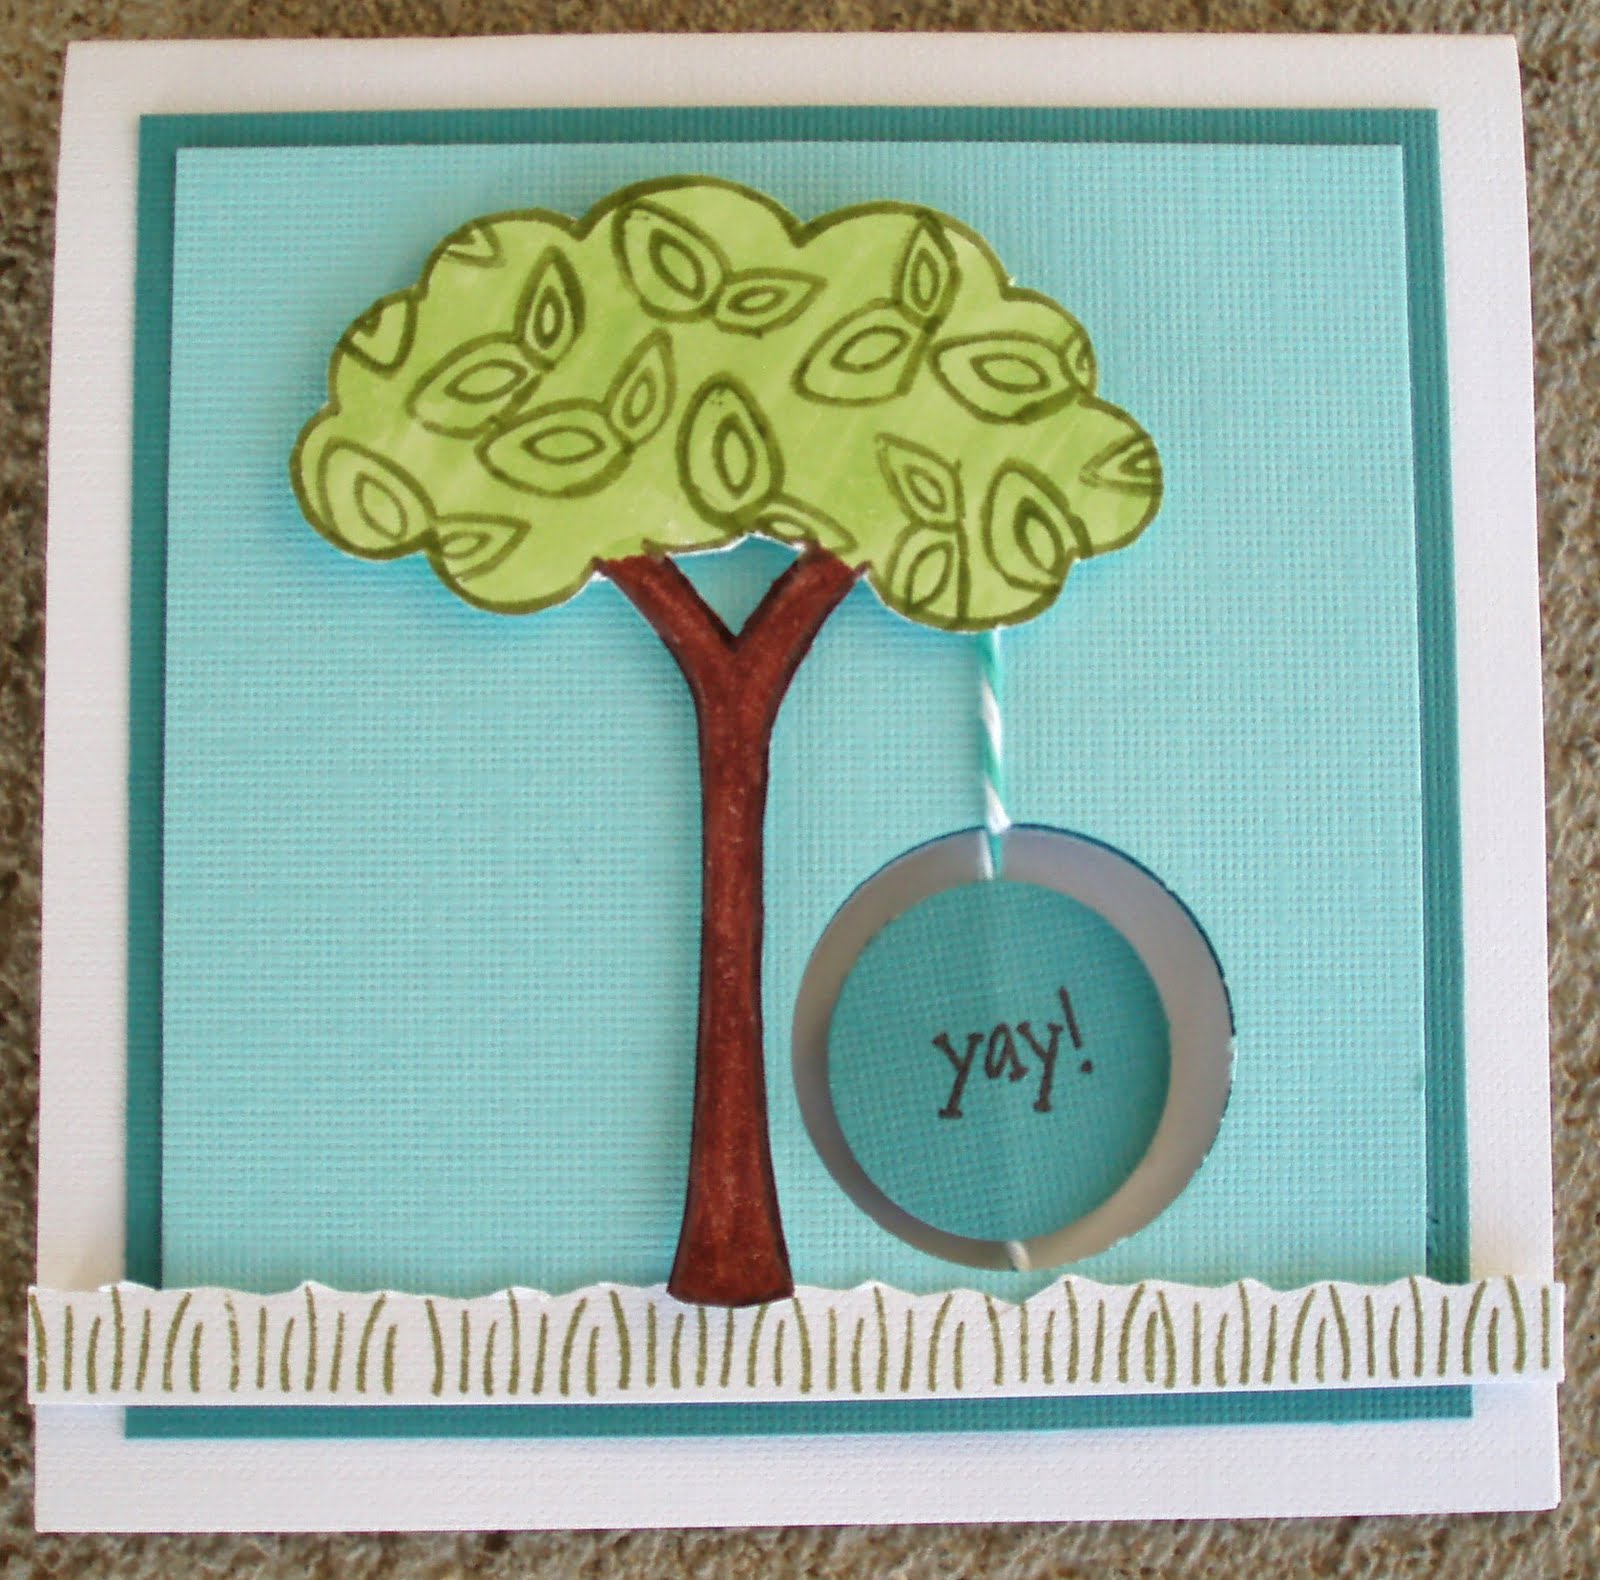
I just picked up Lawn Fawn's Critters in the 'Burbs stamp set. I've been eying it for a while, but since I have a ridiculous amount of stamps, I've only been eying it. Monday, I finally gave in and bought it. I justified buying it because I'm planning on using it for a Flower Soft class I'm planning for A Walk Down Memory Lane (more details on that soon). As an added bonus, Lawn Fawn's having a contest. The winning card is going to be published in their catalog and be shown off at their CHA booth. Pretty cool prize, right? Here's the card I came up with for the contest:


I thought this set would make a fun interactive card. As you can see the tire swing spins on a piece of twine. The front side is the tire, and the back side is the greeting. The tree was stamped, colored with Copics, cut out, and popped up on foam adhesive. The grass was also stamped, cut and mounted with foam adhesive. The card measures 4 1/4" x 4 1/4".

Tuesday, October 12, 2010

Proof That I Exist

Two weekends ago we went to the local pumpkin patch/corn maze/petting zoo. I, of course, took my camera along to capture all of the scrappable moments. I took lots of photos of my boys and my husband picking out pumpkins, pulling the wagon full of pumpkins, sitting with the pumpkins (etc., etc, etc.). When we were done we headed over to the corn maze. I started snapping photos again, and then it hit me, I needed proof that I was there too! I promptly handed my camera to my husband, grabbed my boys and captured the proof that I exist. It's hard to see, but I'm wearing a plum colored jacket. Since I rarely get to scrap in colors like pink and purple, I decided my plum jacket is as good as an excuse as any to scrap a layout in purple. This is one of my favorite "purple" lines, Peacock Lane by Bo Bunny. The little silver embellishments are I-rock gems. The twine is from The Twinery.
Just a reminder to make sure you end up in your family photos once in a while!

Tuesday, September 7, 2010

All About the Story


Today's layout is all about the story. On my oldest's first day of school, my youngest said something pretty darn funny, so I wanted to make sure I got it down on a layout. Of corse, I tell myself that it was so funny I'll never forget it, but chances are I will. Making this layout makes it certain we'll never forget!
The page:
The Story:

I used Crate Paper's School Spirit line again today to create this layout. The twine is one of my new favorite accessories and is from The Twinery. The wavy border above and below the photos were created with the EK Success Bracket Edger Punch. I also used some Cosmo Cricket Tiny Type Stickers for the title.