Sunday, January 30, 2011

Wood Blocks with a Twist


Maybe it's the amount of snow we've had already this year or maybe it's the long stretches of single digit temperatures but cabin fever is hitting early this year. I'm longing for spring, so what's a crafty girl to do? Grab some pretty springy papers, Glue Dots®, wood blocks, paint, and a photo that has you thinking spring...then create some spring photo blocks:


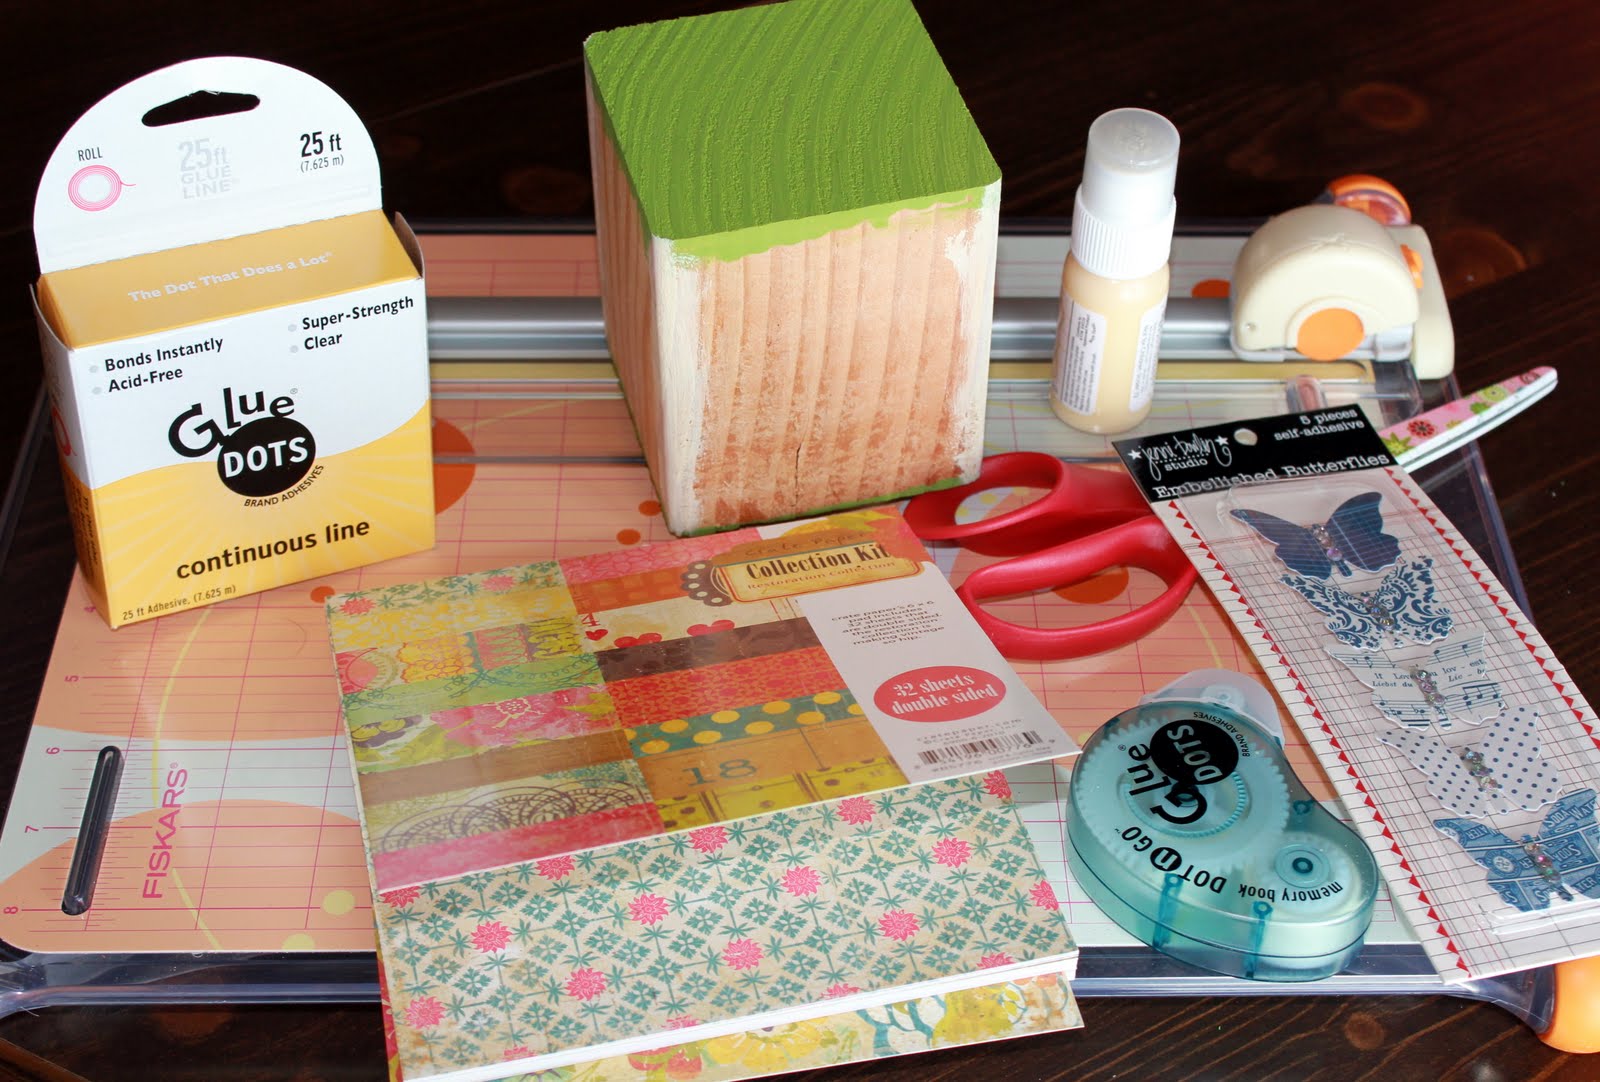
I started by gathering my supplies.


My blocks measured 4" x 3 1/4" but you can use any size you'd like. I started by painting any part of the block that wouldn't be covered in paper. For me, that meant the tops and bottoms were painted green, and I painted the corners with a cream colored paint.
While my paint was drying, I cut and embellished panels for the front of my blocks. Each panel got 1 letter, for a total of 6 blocks to spell out "spring". I used Glue Dots® Memory Book Dot 'n Go and Glue Dots® Pop Up Dots to attach my letters and embellishments to my paper.
When my front "spring" panels were completed I used Glue Dots® Glue Lines to attach the "spring" panels to the front of the wood blocks.


For a twist on these decorative blocks, I covered the back side with a large photo instead of paper.


To create the photo on the back, take a favorite spring photo, and have it enlarged. I enlarged my photo to 8" x 10" photo, then cropped it to 8" x 9 3/4" to fit my blocks. Next, I cut the photo into six 4" x 3 1/4" pieces and attached them to the back side of the blocks with Glue Dots® Glue Lines.
To finish the blocks, add a piece of patterned paper to the sides of the blocks.
Here are a few more close ups of the finished blocks. You will find a supply list after the photos.


Supplies
Adhesives: Glue Dots® Memory Book Dot 'n Go, Glue Dots® Glue Lines, Glue Dots® Pop Up Dots
Paper: Crate Paper Restoration 6" x 6" paper pad
Embellishments: Crate Paper Restoration Brads, Jillibean Soup Corrugated Alphas (red), Jenni Bowlin Embellished Butterflies (Navy)
Paint: Jenni Bowlin Acrylic Paint Dabber (Malted Milk, Seed Packet)
Tools: Silhouette SD

I wrote this blog post while participating on the Glue Dots® design team.

Wednesday, January 26, 2011

Echo Park

Many of you know I do in store design work for my local scrap store, A Walk Down Memory Lane. One of this month's featured manufacturers is Echo Park (that means you get to enjoy EP papers for 25% off during the month of January). I've had so much fun creating with Echo Park this month that I thought I show you a few of the things I have on display at the store right now using Echo Park's Wintertime.


Wintertime
Paper: Echo Park Wintertime (flurry, berries, snow, damask, frost, falling snowflakes)
Accessories: Echo Park Wintertime Element Stickers, Echo Park Wintertime Alpha Stickers, Basic Grey Brads (red)
Tools: Tim Holtz Edge Distresser


Baby it’s Cold
Paper: Echo Park Wintertime
Accessories: Echo Park Wintertime , Stickles (Star Dust)


Sledding
Paper: Echo Park Wintertime (Snowman, Falling Snowflakes, Blizzard, Red Swirls, Stripes, Journaling)
Accessories: Echo Park Wintertime Element Stickers, Echo Park Wintertime Journaling Stickers

Wednesday, January 19, 2011

Congrats Card

I mentioned in my post yesterday that My Mind's Eye currently has sketch challenge #19 going on. This month there's a layout sketch and a card sketch. Yesterday I showed you what I did with the layout sketch, today it's on to the card sketch.


I really love the look of kraft card stock, so I paired that with with MME's Alphabet Soup Boy papers. The best part about this card is that I was able to use up some leftover scraps from layouts I had made. I used We R Memory Keeper's Seweasy tool to do the stitching. I wanted the greeting to have a bit more depth, so I stamped it in brown first, and then stamped over the top in blue. It gives the greeting a shadowed look. The "congrats" stamp is from Lawn Fawn's Sophie's Sentiments (which you can get for 25% off through the end of the month at A Walk Down Memory Lane). The star was cut with my Silhouette SD machine.

Tuesday, January 18, 2011

Winter in Venice

I have a lot of info to pack into today's post, so I'll get right into it. I created this layout for My Mind's Eye's Sketch Challenge #19. This time around there's a layout sketch and a card sketch. Today I'm attempting the layout sketch. The theme is winter. Here's the sketch:

Here's my layout:


I know at first it doesn't look like it follows the theme, but in November/December of 2009 my husband and I went to Italy. This page talks about how winter in Italy is much, much warmer than winter in Iowa (big shock there, right?).

The paper and accessories used here are from MME's Lost & Found Collection. Often MME will release a collection that has 2 or more lines as part of that collection. Lost & Found has 4 lines. For scrapping my photos from Venice, I thought 2 of the lines (Union Square and Portobello Road) would work beautifully. I love Lost & Found, however, one word of caution: The paper is glittery. You and your work space will look like you've had a run in with the glitter fairy after you're done creating with it. Totally worth it, you just may not want to work with it right before you have to run out and give a big presentation or something :-) Because the paper has a lot of texture, you're also going to want to use a nice strong adhesive. I used Glue Dots® on all the paper pieces and the Continuous Glue Line from Glue Dots® on the velvet ribbon, and am very happy with the hold.
I used a newish tool from We R Memory Keepers called Seweasy to pre-pierce the holes for the hand stitching on the layout. It's the first time I've tried any of the Seweasy products and I am loving it so far. It really speeds up the process of hand stitching.

One last thing (I know, I warned you I had a lot to say about this layout). My LSS, A Walk Down Memory Lane, started 2 new clubs this year. One is a 50 Layout club. You can find info on both clubs here. I've made it a personal goal to finish my album from our trip to Italy by the end of this year. There's a lot of photos, so the 50 layout club is helping to motivate me! So, you may just be seeing a lot of Italy layouts on my blog this year.

Friday, January 14, 2011

Savor Once More


Okay, last Little Yellow Bicycle Savor layout, I promise...I'm out of that paper now. This double layout is all about baking Christmas cookies. As you can see, the whole family got involved. I hope you enjoy!


Thursday, January 13, 2011

Hand Cookies


I've got another layout with Little Yellow Bicycle's Savor for today. This line just makes me feel warm and fuzzy all over. This year we made a big production out of making Christmas cookies together as a family. I wanted to start the tradition of making hand cookies like my mom used to do with my sister and me when we were growing up. The tradition is so special to me that it got it's own page separate from the other cookie pictures.


Here's the close up on the journaling:

I'll be back tomorrow with 1 more layout using Savor.

Tuesday, January 11, 2011

Sunday Dinner - Scrapping the Routine Things

Some events in our life are so routine, we don't even think twice about doing them, so we often don't think about documenting them. Sunday dinner (lunch for all you non-Iowans) at my in-laws is one of those routine things. The funny thing is, Little Yellow Bicycle came out with a line called Savor that really got me thinking about scrapping that routine meal. I, of course, didn't have any photos of our Sunday dinner routine, so I made sure to bring my camera along on a Sunday when I knew everyone would be there, and I snapped a few pics (there were lots of mumbles of, "what is she doing?"). Maybe it's just because I love this paper line, or maybe it's because I love the homey feeling these photos give me, but I really love how this layout turned out.


The journaling is a paraphrase of something I saw on a friend's wall. I don't know the original author, but I knew it would be perfect for this layout (yes, we really do use real butter...usually in some ridiculously decadent dessert).