Tuesday, May 31, 2016

Three Photo Layout

Hello! Today I want to share one of my favorite ways to put together a three photo layout. I find myself using this general layout anytime I have 3 photos that go the same direction.


For those of you who prefer to see this broken down into its basic parts, I've whipped up a quick sketch of the layout.


Let's talk about a few of the ways you can change this basic layout up. If you rotate the sketch 90 degrees you've got a great layout for horizontal photos. Here I used 4x6 photos, but if you print one size smaller (3 1/2 x 5) you'll end up with some extra space for matting your photos with paper. You can use 2 photos and substitute a journaling spot for the third photo. Add extra layers of paper behind the photos for more dimension.


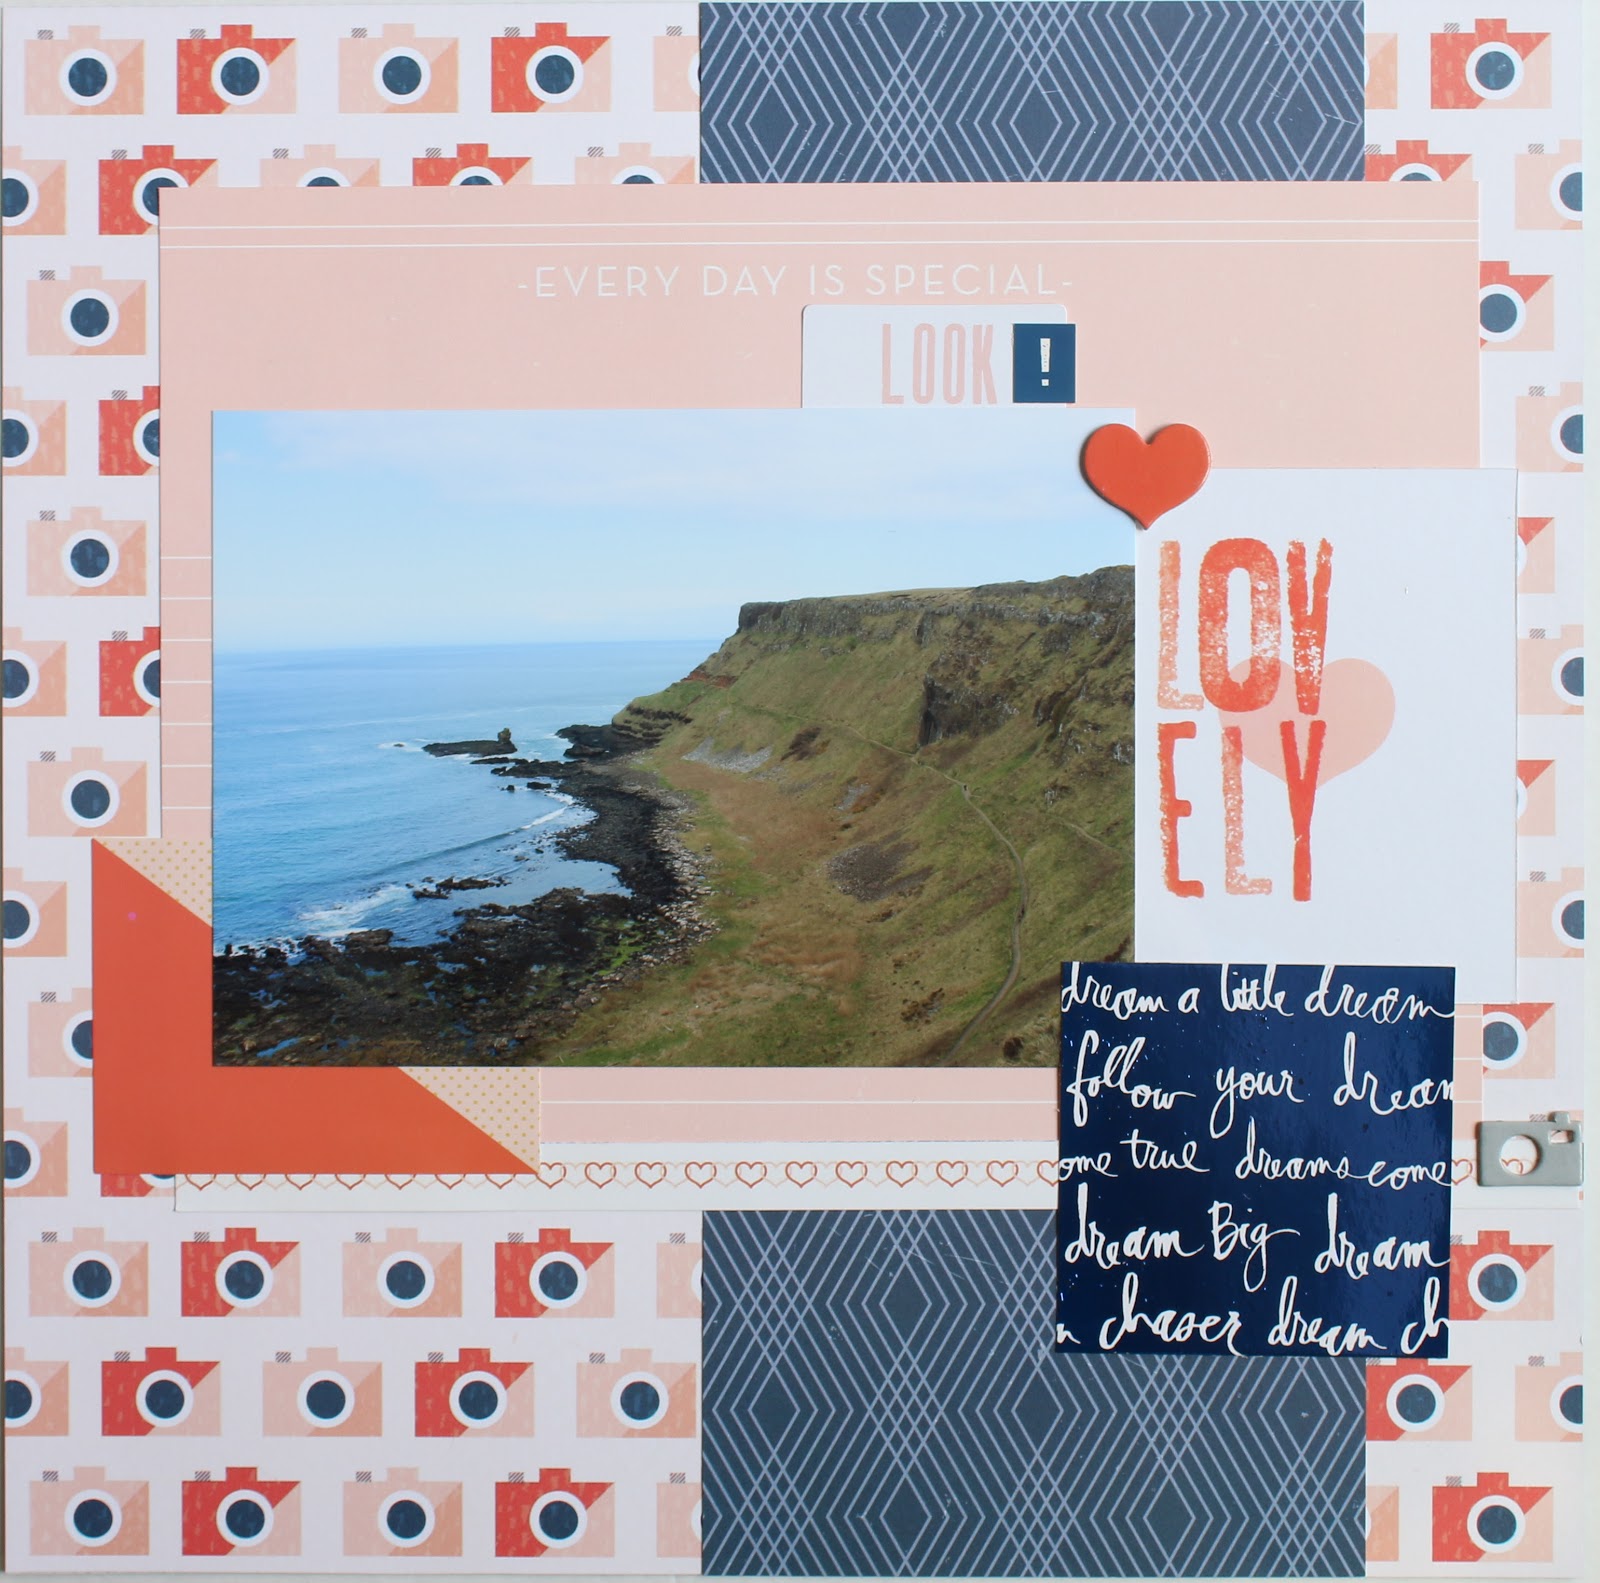
This layout was part of a much larger section in my book, so I had no need of a title and journaling, but a title could easily be added to the top of this layout, and journaling to the bottom right hand area.
I used some Pop Up Glue Dots to pop the center photo up from the rest of the page. It's a great way to add some dimension to the layout and put a little extra focus on one of the photos.
The paper and embellishments for this layout came from American Crafts True Stories collection. I've been using True Stories a lot for travel photos, but it's a great all occasions collection! 


I actually have some more layouts sitting on my "to be photographed for the blog" using this basic three photo layout sketch. Do you have a go to layout that you use a lot? To be honest, it took me a bit to even realize I was doing it because this sketch is so customizable!

Friday, May 27, 2016

12 Years Anniversary Layout

Every year my husband and I do something for our anniversary. Sometimes it's just dinner and a movie, sometimes it's something bigger, but every year I make sure we take a photo to mark the celebration. All of these photos get scrapped and live in an album just for our anniversary layouts. I can't help but think how fun it will be to go back and look at an album full of anniversaries when we celebrate 25 or 40 or 50 years together. Today I'm sharing our 12 Years anniversary layout.


We don't actually celebrate 12 years together until June, but we had the opportunity to go to St. Simon's Island, Georgia. We decided to turn it into a bit of an anniversary trip.


I love the bright colors and watercolored feel Bella Blvd's Illustrated Faith collection. I used a mix of papers and heart shaped enamel dots from the collection.


I used some journaling cards and tags from Elle's Studio for my journaling and to add a few extra layers of embellishments to my layout.


I so love going through life with this guy! I can't get enough of spending time with him, and I am so thankful to be able to put our years together down on paper like I did with this 12 years anniversary layout.

Tuesday, May 24, 2016

Makeup Themed Thank You Cards

Today's makeup themed thank you cards come with a bit of an explanation.
 

I'm not much of a makeup person. Until recently most of my makeup came from the drug store, and I didn't even own any lipstick anymore. I also have very sensitive skin, so I do things like make my own soap ( like Hot Cocoa Soap, Beer Shaving Soap, Summer Mango Butter Soap, and Shea Butter Soap), my own lip balm, and my own lotion. Recently, however, I was invited to an online Younique party, and I fell in love with their quality natural beauty products (you guys, this is not a paid plug, I just really love the products). On top of that, the Younique presenter, Julie Borges, who I order my makeup through may just be the sweetest person I have ever met. She likes to spoil her customers and send them extra goodies. Whenever she sends me goodies she always sends along a thank you card.


You see where this is going, right? I figured it would be a lot of fun to send Julie some makeup themed thank you cards to send out to her customers. I had a few designs in mind, but didn't have any makeup stamps, so I headed to the Silhouette online store and found some perfect makeup cutting files for my cards.


Julie is one of those happy, bubbly people, so I kept these cards bright and vibrant. I chose the card stock for color, not texture, so I have a mix of Bazzill Smoothie card stock and Bazzill Classic card stock on the cards, and a pop of Bazzill Mirrored Silver. All 3 kinds cut beautifully on the Cameo. I also kept the cards very flat, since I know she will be sending these through the mail.


I love that I could come up with a bit of an obscure theme and find exactly what I wanted in the Silhouette store! Have you ever created a set of cards as a gift for someone?

Thursday, May 19, 2016

Scrapping Memorabilia

Scrapping memorabilia can get a bit tricky, especially when it's something large and/or brightly colored. Today I have a page I created that contains a map and an admission ticket that I wanted to scrap.


As you can see, there isn't a photo on this page. I wanted to scrap the map of Giant's Causeway, as it helps put the path we took and locations of our photos into context. Since the map is pretty busy, I kept my color scheme pretty simple. All of the paper, embellishments, and alphas are from American Crafts True Stories collection. The film strips on the base paper are actually glittered, so it adds a bit of pizazz without making the layout too busy. 


Since the map was on this page, it seemed like a great place to put one of our admission tickets as well.


I pulled all the colors in the layout together by using some fun multicolored Thickers.


This memorabilia page was part of a 2 page spread. While these pages don't necessarily make one large 12 x 24 page, I wanted the 2 pages to coordinate together in the book. I made that work by using some of the same papers on both pages and using the same alphas for the titles. You can see more about the right hand layout here. Do you have any tips and tricks for scrapping memorabilia?

Monday, May 16, 2016

Mixing Pocket Pages in with Standard Pages

I don't do a lot of pocket style scrapbooking. However, when I scrap travel photos I like mixing in pocket pages with standard pages. Sometimes I have a lot of scenery photos that are similar, or from the same place, so I don't have journaling for every page, but I still want to print and scrap all of the photos. Here's an example of how I mix pocket pages in with standard pages.


As you can see, the page on the left is very simple. I filled the whole page with 4x6 photos, and just added a few stickers to accent the photos.


I focused more on the right hand side of the spread. I used American Crafts True Stories to scrap my larger 5x7 photo of Ireland's Giant's Causeway. 


 I foiled some Heidi Swapp Minc cards with blue foil to add a little extra pop to the page. I love using foil to add a little extra something to my page and love that you can use the Minc to customize your foil color to whatever works with your layout.


Do you do much pocket style scrapbooking? How do you utilize pocket pages?

Tuesday, May 10, 2016

Mixing Echo Park Bark and Meow

My sister sent me a photo of my niece and one of her dogs sharing my sister's lap. I thought it was far too cute not to scrap. I decided mixing Echo Park Bark and Meow collections was the perfect way to scrap this sweet photo.


I love the colors in Bark, but since this photo has my niece in it, and I so rarely get to use pink, I decided to also use the pretty plaid from Meow. While the colors in Bark and Meow aren't exactly the same, they do coordinate really well.


I added a few sticker accents and had some fun with washi tape. The "snuggle with your puppy" was, of course, just perfect.


 I played up the opportunity to use pink by adding my title with pink Thickers.


I really loved how mixing Echo Park Bark and Meow worked out, and this is a fun little snapshot to add to the scrapbook album I'm keeping for my niece!

Friday, May 6, 2016

You and Me Layout

One of the things I love about scrapping is that I get to slow down and look at my photos. I get to feel all the feels from the time we too the photo all over again. My husband and I don't take a lot of photos together, so I tend to get especially sentimental scrapping photos of us. I really love this guy, and I hope I put some of hose feelings into today's You and Me Layout.


I used American Crafts True Stories for this layout. I love the piece of paper I used for the base of this layout, not only is it a gorgeous stripe, but that silver stripe is actually glittered. It's such a fun little something extra on the page!


Since the location that we took this selfie was so beautiful, I wanted to make sure it could be seen well. I decided to go with a larger 5x7 photo for this layout.


I matted the photo with a few different different pieces of patterned paper, playing off the colors form the stripes. I clustered some stickers and embellishments around the corners of the photo to draw the eye towards the photo. I also added a photo overlay, but placed it only in the upper left hand corner of the photo.


Finally, I used the True Stories Thickers to add the You and Me title to my layout. I loved journaling the story of this photo and scrapping it, too!

Monday, May 2, 2016

A Colorful Birthday Card

My father-in-law and my youngest share a birthday. I love that they get to share a special day. Both of their birthdays are coming up in less than a week, so I need a card for my father-in-law. I decided to go with a colorful birthday card for him.


I used the same Poppy Stamps Stitched Borders die that I used on the birthday card from last week. I used 2 of the dies from the set (there are 3 total in the set) to cut out a section from the center of the card. Then, I layered 1/4" strips of colored card stock in the empty space.


I wanted to share a picture of how I layered up my card stock strips. I marked straight lines to help me get my card stock lined up straight. I put my adhesive on my white card stock and then just layered the colored card stock over the top of it. 


When I was all done layering my colored card stock, I placed my die cut white card stock on top. I used a happy birthday stamp from Altenew's Birthday Greetings for my sentiment that I colored in with matching markers.


A few simple enamel dots put the finishing touches on my colorful birthday card.