

Happy Halloween!


 Here's my take:
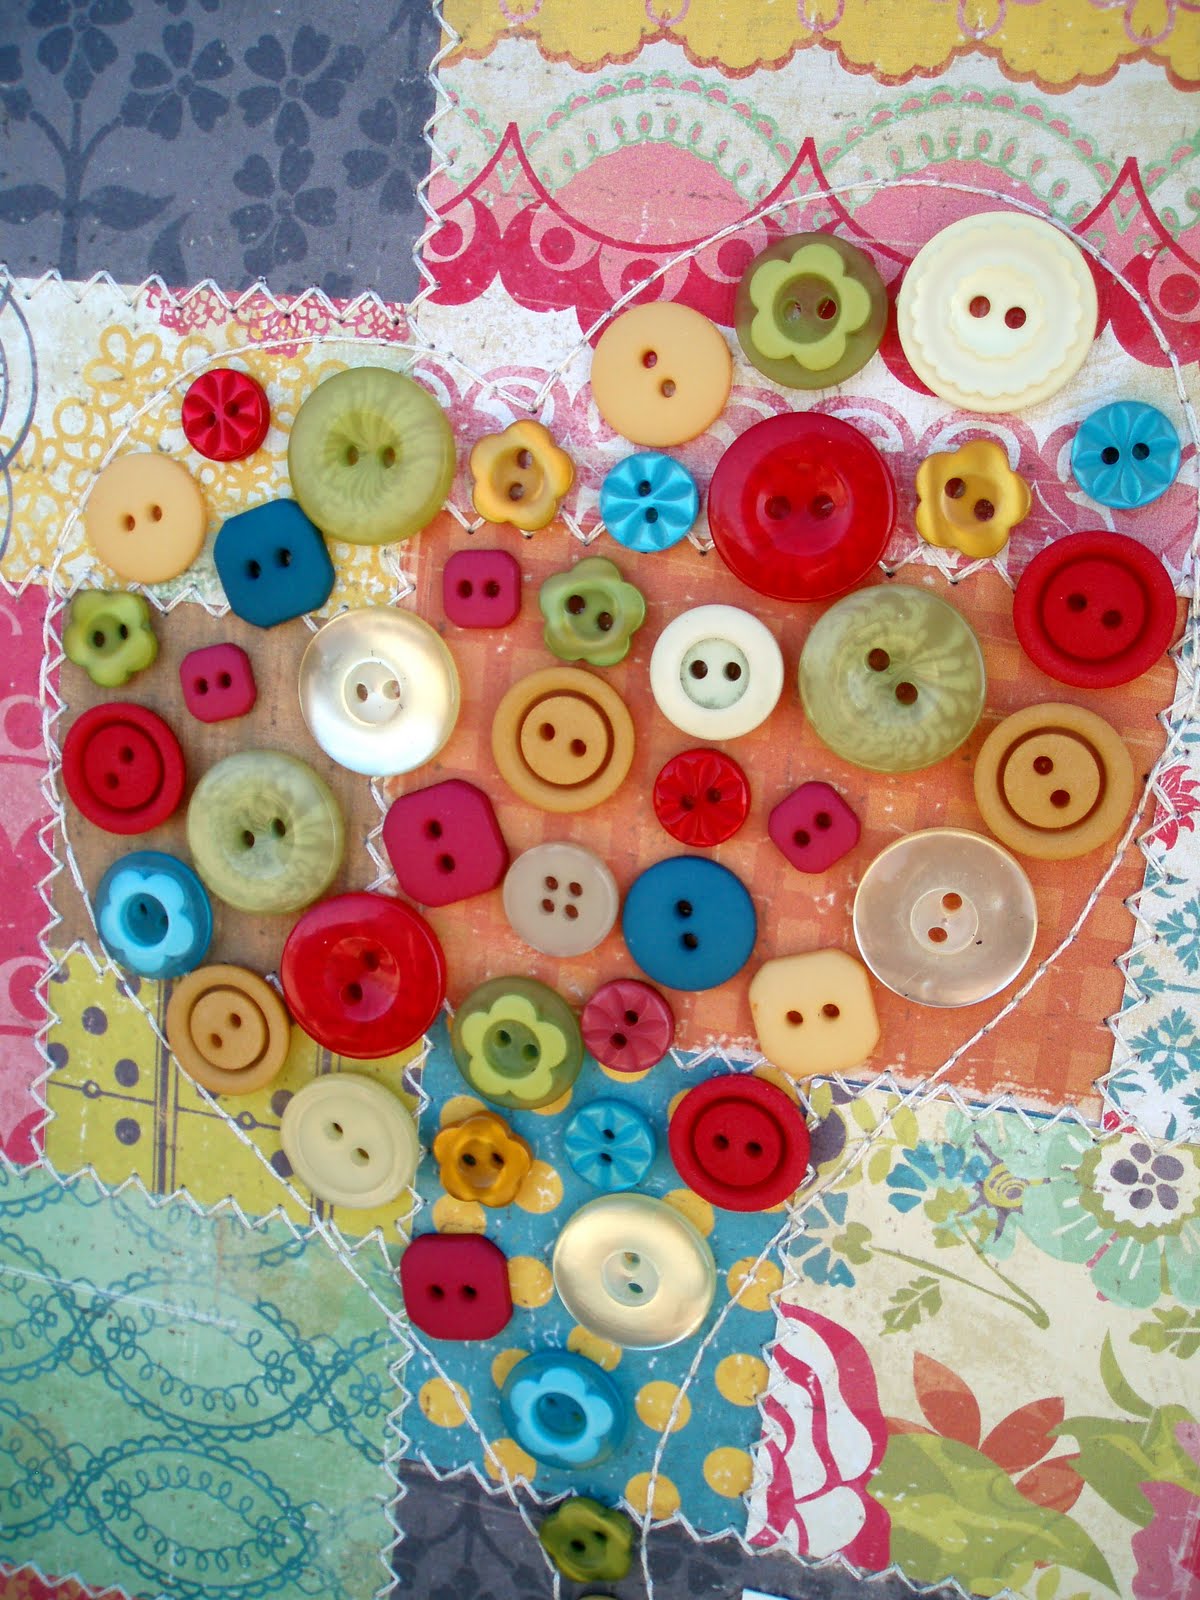
 Everything (paper, brads, rub-ons, chipboard, stickers) is from Crate Paper's Brook Collection. The hardest part for me with this layout was purposely not lining up the squares perfectly. I'm usually a clean and straight lines kind of gal. However, this layout just seemed to need a bit of wonkyness (yeah its a word:-) Here are a few close ups of the details on this layout.


 Thanks for stopping by!
 This month Glue Dots® challenged its Dottesses to create a gift. The timing of this could not be more perfect, as I have been planing to make a gift for a friend who recently found out she is going to be a grandma. She's so excited and I just can't help wanting to share in her joy. Here's what I came up with:

 It seems I am on a bit of a paper flower kick lately. My mother-in-law has spent this week in the hospital. She's also a new paper crafter (I converted her a little under a year ago). I wanted to do a little something for her, so I decided to make a paper bouquet to brighten her room.
 The papers are My Mind's Eye's Ohh La La. There are 2 different types of flowers. Both were cut with my Silhouette and have copper wire stems. Since my mother-in-law really enjoys stamping (and is currently trying to build up her stamp collection) I filled the vase with pretty wood mounted stamps instead of filling the vase with rocks or paper. I really love the look of it.
 I layered 2 different ribbons on top of each other and then wrapped them around the neck of the vase to give a little extra color pop. I have been looking for the perfect ribbon adhesive FOREVER, and I've finally found it! I have now used Glue Dots® Continuous Glue Line to adhere ribbon to ribbon, ribbon to glass, ribbon to paper, and ribbon to wood. They all stuck like...well, glue!
 Paper: Studio Calico Anthology (Aperture), Studio Calico Home front (Dollhouse, Conversation Piece)
 Paper: Crate Paper School Spirit (Ruler, Pep Rally, Chalk Board)
 Paper: Studio Calico Anthology, Studio Calico Home Front
 It's hard to see, but I'm wearing a plum colored jacket. Since I rarely get to scrap in colors like pink and purple, I decided my plum jacket is as good as an excuse as any to scrap a layout in purple. This is one of my favorite "purple" lines, Peacock Lane by Bo Bunny.
  The little silver embellishments are I-rock gems. The twine is from The Twinery.
 Just a reminder to make sure you end up in your family photos once in a while!


 As I said there are 23 projects that will be featured on the Fiskateer blog this week. Fiskalead Tami put together a really beautiful video giving a sneak peak of all 23 projects. You can see it by clicking here. These projects are amazing!
 All of the paper is My Mind's Eye Alphabet Soup Boy. I've really fallen in love with the colors and patterns in this line. They're so perfect for scrapping boy pages. Believe it or not, I didn't think this was a line I needed until I saw it at A Walk Down Memory Lane. I can admit when I'm wrong...I love this line.
  Each of the squares on this layout are stitched with X stitches. I love the feel they give to the layout. They really make the individual squares of paper come together.
  The brackets behind the photo were cut with my Silhouette. The "you and me" sticker is from Cosmo Cricket. The off white button is from Jenni Bowlin, while the other buttons are from Bo Bunny.
 For whatever reason, this layout went together really easily for me. I love mixing and matching patterned papers. The paper here is all from My Mind's Eye Alphabet Soup Boy except for the background "notebook" sheet of paper, which is Basic Grey.
 I used a mix of embellishments. The word stickers (smile, dimples, lovable) are Cosmo Cricket Tiny Type. The 4 yrs stickers are Bella Blvd One Fall Day. The tag that the 4 yrs is on is from Chatterbox. The blue circle is a washer that I covered in MME paper and stuck a MME Lush Brad through. That top left circle is a piece of cork.
 I, of course, couldn't call this layout complete with out a bit of hand stitching.
 Finally, those little pearls above the journaling are I-Rock pearls. If you don't have an I-Rock yet, all I have to say is, what are you waiting for? This is the coolest little tool! I've had mine for a week, and I already don't know what I did without it.
 Second, cover the Glue Dots® with Sparkly Fluff. You will want to use a small bit of pressure to push the Sparkly Fluff onto the Glue Dots®. Shake off the excess Sparkly Fluff. You'll end up with something that looks like this:


 I know I've mentioned before that you can find inspiration anywhere, and for this layout, I really did. I drew my inspiration from the Glue Dots catalog cover:


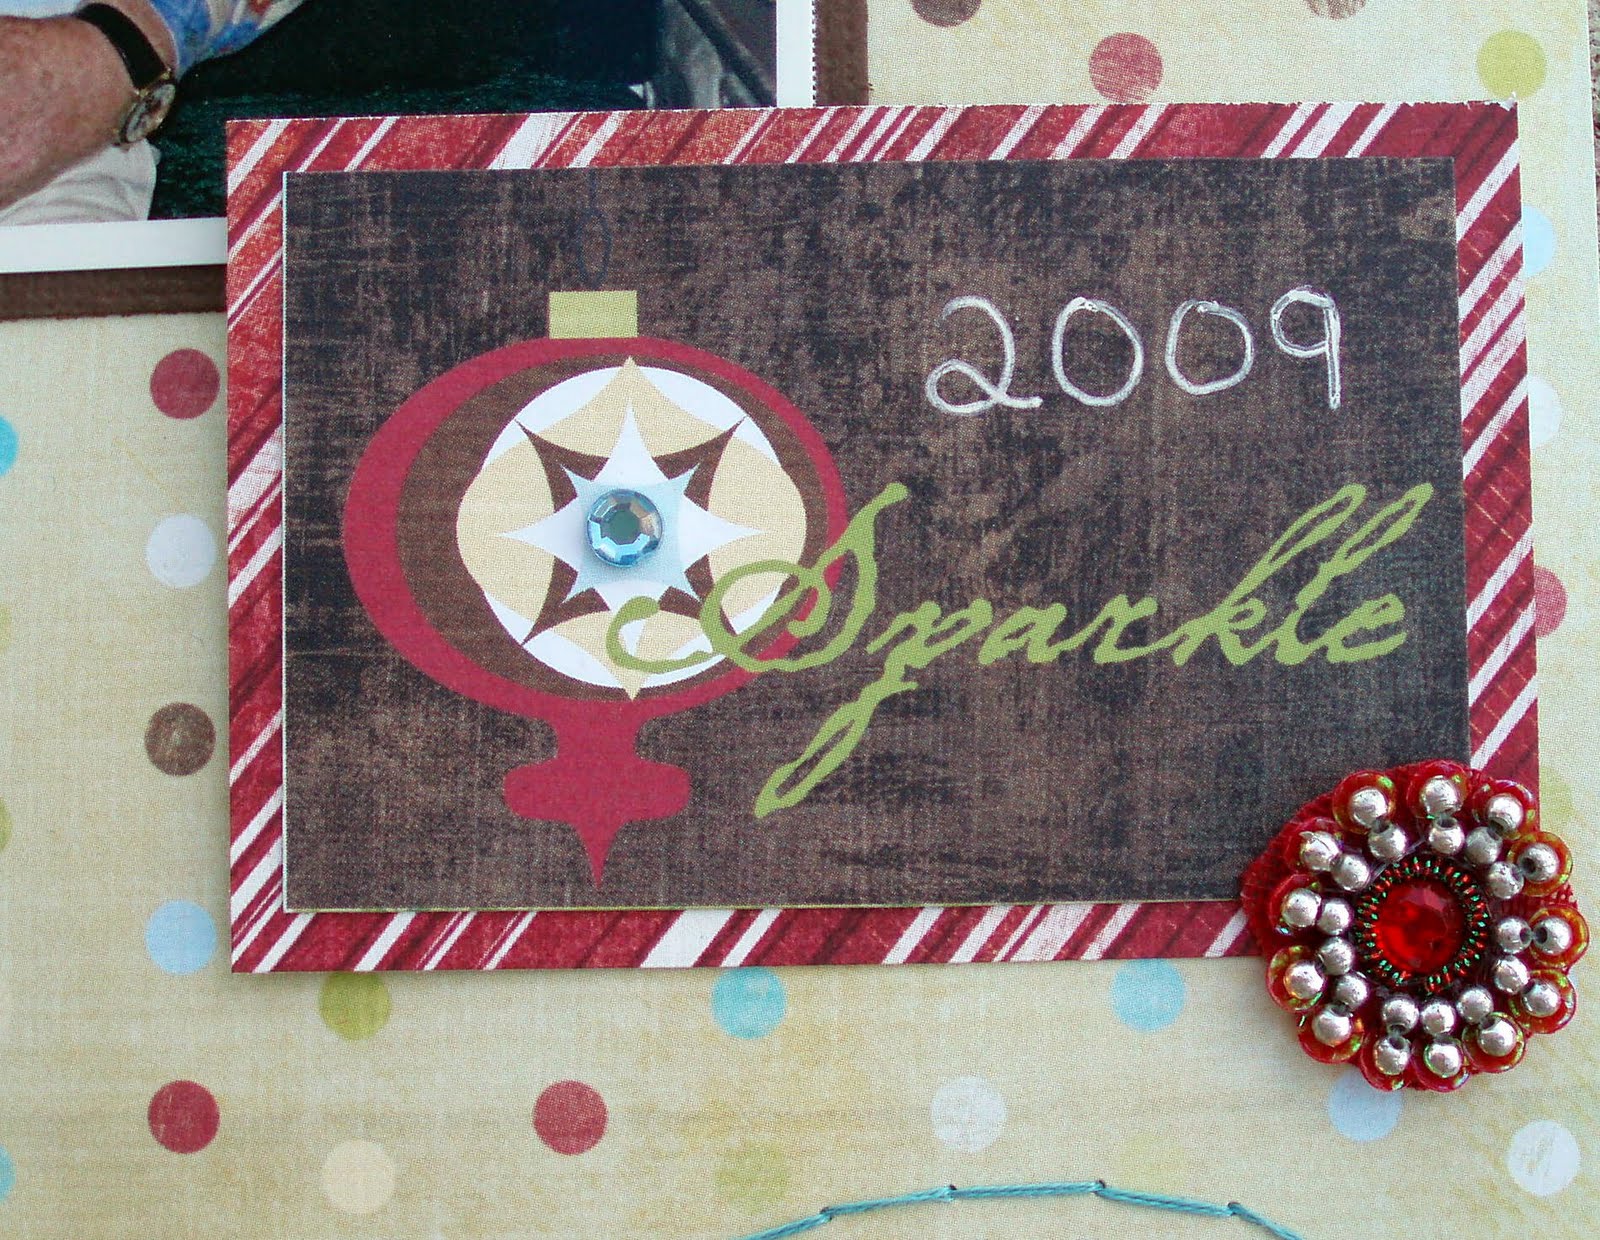 This layout is makes me excited for Christmas already!