I have, unfortunately needed far too many sympathy cards lately. While never the easiest to make, I thought I'd share my prayers sympathy cards today.
I used the Hero Arts Prayers stamp and matching die set as my starting point. I've had the set for a very long time, but this is the first time I've used it.
I then used a similar color palette of blues, greens, and gray or black throughout the set of cards.
I used different mediums like stamps, stencils, and ink blending to create different backgrounds for each of the cards.
My goal was to make the backgrounds soft to keep the focus on the sentiment.
While I don't love having a reason to use cards like these, it is so nice to have some on hand to send when they are needed.
Showing posts with label Hero Arts. Show all posts
Wednesday, August 22, 2018
Wednesday, June 28, 2017
Thanks So Much Card
I recently needed a thank you card. I decided to use a stamp and die set that I've had forever, but just haven't had the chance to use yet.
I used the Hero Arts Thanks Die and Clear Acrylic Stamp Set. The "thanks" die, "so much, you are awesome" stamps, and star stamps are all part of the set. I used a simple oval die to cut a hole in the white card stock to create a bold backdrop for the thanks die cut.
I used Tim Holtz Distress Ink in Cracked Pistachio, Blueprint Sketch, and Squeezed Lemonade to stamp my sentiments and stars.
This thanks so much card definitely falls into the clean and simple category. I'm so glad I finally got to use this great stamp and die set.
Labels:
Hero Arts,
Ranger Ink,
Tim Holtz
Tuesday, August 20, 2013
Gelato Birthday Card
I'm sorry for being away from blogging for almost a week! The kids went back to school today, and we were busy fitting in lots of last minute summer fun. It's been a while since I've shared a card, so how about a fun birthday one.
First of all, I love Gelatos. They're such a fun and different medium to work with, and there are so many ways to use them. For this one, I simply colored with my Gelatos directly onto my Hero Arts/Studio Calico Starburst stamp. I misted the stamp with water, and then stamped directly onto my card stock. So simple, and such a great watercolor effect. I added the center birthday words last, from the W Plus 9 Written on Ribbon stamp set.
Thanks for stopping by!
Labels:
Faber Castell,
Hero Arts,
Studio Calico
Wednesday, August 22, 2012
Let's Celebrate
It's been a little while since I've posted a card, so I figured why not break out something I haven't used for a long time - my watercolor pencils! I embossed watercolor paper with a lattice background stamp, then I colored stripes with my watercolor pencils, blending with water as I went. When I was done blending the color, I used a dry paper towel to wipe the color off of the embossed area.
I used Nestabilites dies to create a framed cut out. Inside the cutout, I stamped "Let's Celebrate" from Lawn Fawn's Sopihie's Sentiments (little side note, this was my first ever Lawn Fawn set, and it's still one of my favorites). I stamped it twice withouth re-inking to try in give it a soft, shadowed look to go along with teh soft background.
I stamped the pinwheels from Lawn Fawn's Cruising Through Life with Staz-on ink on watercolor paper. I used the same watercolor pencils to color in the pinwheels, then I cut the pinwheels out and added them to my card.
Just a quick little card I created, because the idea popped into my head!
Thanks for stopping by!
Labels:
Faber Castell,
Hero Arts,
Lawn Fawn,
Spellbinders,
Stamp School
Friday, June 1, 2012
Summer Fresh
You know how sometimes you see a new line and you just know that you can do pretty things with it, that it's going to be so much fun to work with, that you won't be able to get enough of it? Yeah, that's me with Simple Stories Summer Fresh. I really, truly just love this line.So far, I've made a 2 page layout, a single page layout, and banner. Today I'll share the layouts. You'll have to come back next week for the banner.
First up is the single page layout:
My favorite thing about this layout is the little cluster of details found here:
That little calendar piece with the twine and the pin and the rhinestone added to it just make me happy. I know, it's the little things, right?
Now on to the 2 page layout. I actually made this layout first. I was waiting for Summer Fresh to come out so that I could scrap these photos from Easter. Sometimes, I really like a paper line, but when I start to work with it I struggle and I just can't seem to put it together right. Summer Fresh is the exact opposite of that for me...it mixes and matches beautifully and I can't seem to get enough of it.
Okay, I know that picture's a bit tiny, so here are individual shots of the left side:
and right side:
In case you're wondering what we're doing, here's a close up on the journaling about Magic Jelly Beans (please note this is not my original idea, I read about it somewhere, and I really don't know where otherwise I'd absolutely give that person the credit for coming up with such a fun idea).
And, finally, I have to share one last photo of my favorite detail from this layout:
This bit of burlap with the twine and button is the last thing I added to the layout, and it just just made the whole thing feel complete.
Thanks for stopping by today. I'm quite behind on keeping up with blogging the current projects I have completed, but I'm trying to do better...really I am! In the mean time, I've been busy over at Stamp School,
so you can find a bright and cheery card with a Gelato video tutorial done by yours truly here.
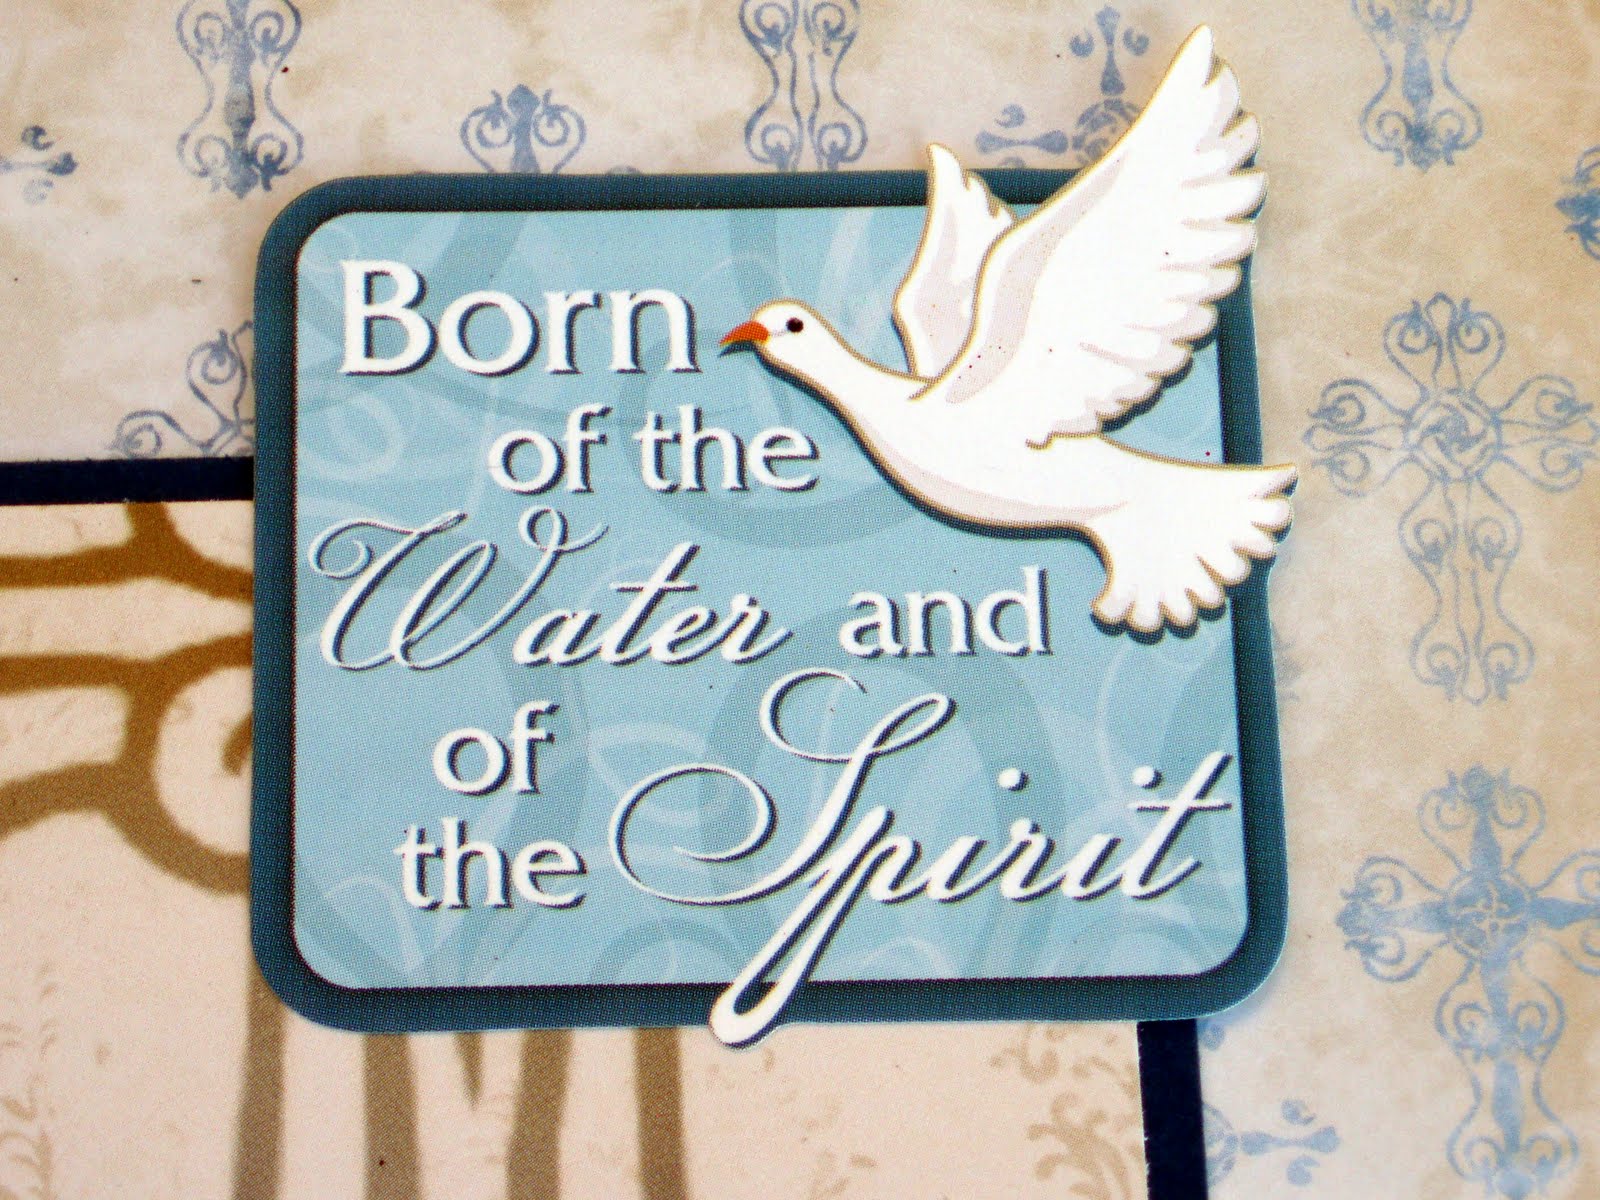
You can find a a wedding card I created with a matching envelope here.
and you can 
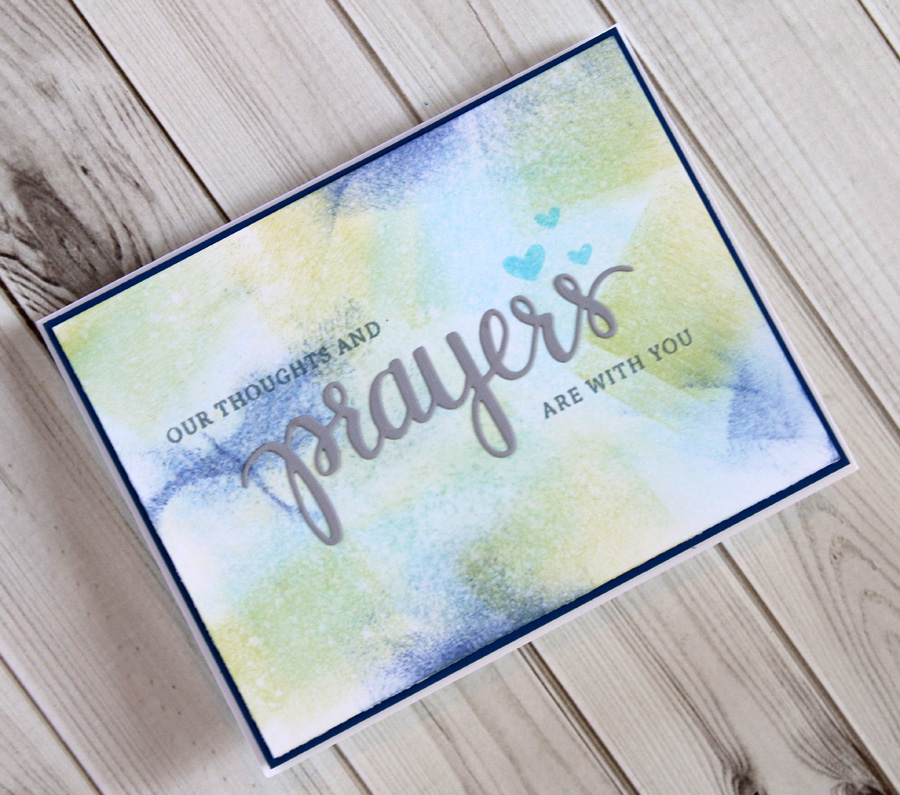
find one last video tutorial on making this inky embossed background here.
Have a great weekend!
Labels:
Hero Arts,
may arts,
maya road,
Prima,
Simple Stories,
Stamp School
Tuesday, November 22, 2011
This Week
I always love this time of year. I especially love that I get to see my husband more. With Thanksgiving and Christmas, he takes a few days off, and I truly appreciate having him around the house. I'm busy cooking and baking this week, and on either Friday or Saturday we put out all the Christmas decorations. Here's a new one I made this year to add to the stash:
I've steadily been making my way through my Echo Park Season's Greetings Colletion Kit. It's amazing how many projects I have been able to create with this kit and I still have more of it left (right now the count is at 2 home decor projects, 2 Christmas ornaments, 4 Christmas cards, and 1 layout). For extra embellishments I used some May Arts ribbon, Bo Bunny Blitzen Brads, Bo Bunny Blitzen Buttons, and Hero Arts Dots.
I wanted to use this frame to tell the Christmas Story so the text portions are Bible verses that start with Isaiah and end with the Wise Men kneeling before their King.
A few notes about the measurements. The frame size is 11" x 14". I chose that size because I wanted something larger, however I didn't think it through completely. I got home and realized I don't have background paper large enough for that size frame. I realized that I did have kraft wrapping paper somewhere in my house, so I trimmed a piece of that down to 11" x 14", and it worked out just fine. Each individual square is 2.5" x 2.5".
Thanks for stopping by!
Sunday, December 26, 2010
Baptism Layout and a Card
I had a lot of fun scrapping this special day. My youngest is now 2, but in this photo he was only 2 weeks old.
My Baptism
Paper: Moxxie Faith (Baptism, Faith Confirmed, Lighted Cross)
Accessories: Karen Foster Card Stock Stickers My Baptism
I used my leftovers to create this card:
Child of God
Paper: Moxxie Faith (Baptism, Faith Confirmed)
Accessories: Karen Foster My Baptism Card Stock Stickers, Hero Arts Hero Hues Ribbon
Labels:
Hero Arts,
Karen Foster,
Moxxie
Sunday, October 18, 2009
Fun Weekend
I had a busy, but very fun weekend. I had a blast teaching a Christmas card class at A Walk Down Memory Lane on Saturday. I had so much fun meeting 5 new stampers. From there my husband and I dropped our boys off at my in-laws to spend the night, so we could go out with some friends to celebrate my husband's 30th Birthday (Happy Birthday, Dave!). And today, I even managed to fit in some paper crafting time. Definitely a fun weekend!
Today's card is one from my Christmas card class yesterday. I love it because it's simple, yet a little unexpected, and easy to replicate for multiple Christmas cards.

The green center is popped up on a foam adhesive dot to add dimension, and then layered onto the red stamped image. The entire stamped image is actually stamped on the inside of the card and is visible through a hole punched in the outer layer of the card.
The red border is wrapped around the edge like a book binding and therefore is visible on the back side too.
I hope you all had a fun weekend too!
Supplies:
Stamps: CL237 - Hero Arts
Ink: Real Red and Old Olive - Stampin' Up!
Paper: American Crafts
Accessories: 1 3/4" Circle Punch, 1 3/8" circle punch - Stampin' Up!
Apron Lace Punch - Fiskars
Dew Drop - Robins Nest
Today's card is one from my Christmas card class yesterday. I love it because it's simple, yet a little unexpected, and easy to replicate for multiple Christmas cards.

The green center is popped up on a foam adhesive dot to add dimension, and then layered onto the red stamped image. The entire stamped image is actually stamped on the inside of the card and is visible through a hole punched in the outer layer of the card.
The red border is wrapped around the edge like a book binding and therefore is visible on the back side too.I hope you all had a fun weekend too!
Supplies:
Stamps: CL237 - Hero Arts
Ink: Real Red and Old Olive - Stampin' Up!
Paper: American Crafts
Accessories: 1 3/4" Circle Punch, 1 3/8" circle punch - Stampin' Up!
Apron Lace Punch - Fiskars
Dew Drop - Robins Nest
Labels:
American Craft,
AWDML,
Hero Arts,
robins nest,
SU
Saturday, August 29, 2009
A new post...finally!
I have to say, I hate bumping that beautiful bouquet down from the top post. It was just so fun! Quickutz thought so too. They picked it up for publication on their website! Today's post is a bit of fun as well. I played along with the Hero Arts blog challenge this week. If you haven't played along before, check it out. There are some really talented ladies, and the prizes are great! Little different color combo here, but I think it works nicely. I love using gray as a neutral instead of black or brown. Somehow it changes the whole feel. I should also note that the owl stamp is a single owl on a branch. I colored the owl with a marker, leaving out the leaves, then stamped. I repeated the process 4 times. I only inked the leaves on the 1st and last owl. I'll post the recipe below the picture. Thanks for stopping by!
Supplies:
Stamps: Hero Arts CL 155 (owl stamp)
Stampin' Up! That's Funny (sentiment)
Paper: Stampin' Up! Going Gray, Ballet Blue, Apricot Appeal, Whisper White
Ink: Stampin' Up! Basic Gray Marker and Ballet Blue Marker
Markers: Copic Markers and Blender Pen
Accessories: Sizzix Stampin' Up! backrounds #1 texturz plate
Stampin Up! Apricot buttons
Thursday, July 16, 2009
It's a Hoot

Today is my first foray into the world of acrylic stamps. These are from hero arts and I mounted them on rock-a-blocks. If you're new to the world of acrylic, like me, these babies are the way to go. You get a clean, crisp image every time. The card stock and ink is from SU!. The patterned paper is from pebbles inc. I used a bit of paper piercing here to add interest, and I had to add a little bling with some rhinestones. If you're wondering how I tied that ribbon, it's 2 pieces. 1 strip of ribbon, and 1 bow attached to the ribbon strip. I find it lies much better that way. Thanks for stopping by today!
Labels:
Hero Arts,
pebbles inc,
rock a blocks,
SU
Subscribe to:
Posts (Atom)


