

My finished album measures 4" x 4", however you can change your measurements to make this quite a bit larger or smaller.

I started by cutting and scoring my inside pages. I needed 4 pages plus the cover, so I cut 4 - 4" x 8" pieces of patterned paper for the inside pages. These are scored at 4" and folded in half.

I gathered these pages together, and measured how thick they were to decide how big I wanted my spine to be. They were about 1/4" thick. I like to have a little bit of embellishment room, so I decided to add 1/8" to that, so I will make my spine 3/8" thick.

To make my cover, I cut a piece of patterned paper to 4" x 8 3/8" (that's 4" for the front cover, 4" for the back cover and 3/8" for the spine). Then I scored it at 4", turned my paper 180 degrees and scored it again at 4".

Your cover should look like the picture above now.

Now it's time to assemble your book, and here's where the back to back gets its name. I start with the inside pages first. Place adhesive on the back side of your first and second pages (the side that you don't want to see). Place the backs of the pages together and firmly adhere, matching up along all edges. Repeat this until all of your pages are adhered together.

To adhere the cover to your pages, put adhesive the back side of the very front page and the inside of the front cover of your album (in the photo above, that's the gray paper and the alphabet paper). Line up the pages and press firmly together. Repeat the same steps for the back cover.
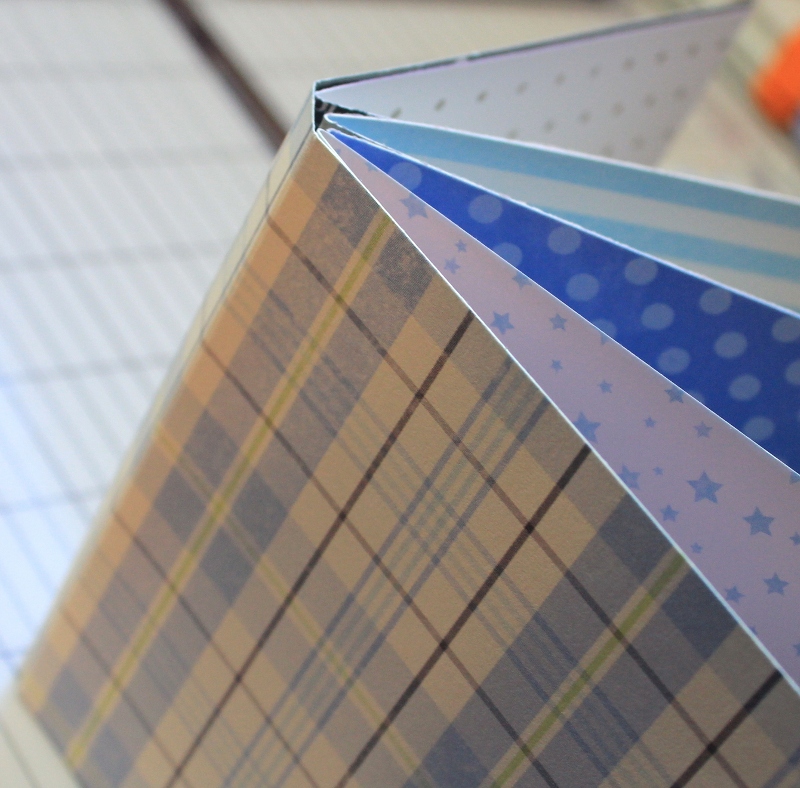
When you're finished the spine of your album will look like the photo above.

You can leave the album as is (album of the left), or round the corners of all the pages (album on the right).

When you're done decorate the cover and pages. To see how I decorated the insides of the rest of the pages of my Milestone Mini Albums, head on over to the Pebbles Blog.
Thanks for stopping by!
No comments:
Post a Comment