Thursday, November 4, 2010

Advent Calendar

This post contains affiliate links.

**I created this post over 5 years ago, and it continues to be one of my most popular. I try to keep the supply list updated with similar products when products become discontinues.
Supplies


Glue Dots® challenged it's Dottesses to make a holiday decor project. As you can see, I decided to make an advent calendar. Here's a step-by-step on how to make your own.

1. Gather the basics: An advent calendar (I used a Karen Foster Count Down Calendar, but Kaiser Craft also makes a great calendar as well), Christmas paper (I used The Girls' Paperie Tinsel and Twig paper and the Tinsel and Twig Sticker Market), Glue Dots® Mini, and miscellaneous embellishments.
2. Cut 13 red 1 1/2" x 1 7/16" squares and 12 green 1 1/2" x 1 7/16" green squares. The drawers slide better if you cut the squares of paper so they are just slightly shorter than they are wide.

3. Add the Girls' Paperie Tinsel and Twig Sticker Market square number stickers to the red and green squares. I alternated colored squares and numbers (i.e. 1st was layered on red, 2nd layered on green, 3rd layered on red again... all the way to 25 which will be layered on red).

4. Cut the finger notch from the squares. I did this by holding the paper up to the drawer, tracing with pencil, and then punching out with a 1/2" circle punch. You can also cut it out with a scissors. Once I had one paper notched properly, I used that piece as a template for the rest of the squares. 5. Embellish the squares with rhinestones, pearls, brads, etc. (I used Imaginisce's I-rock, Prima Flower centers, My Mind's Eye Red Lush Brads, Green Kaiser Craft Rhine Stones, and words from The Girls' Paperie Tinsel & Twig Sticker Market)

6. Attach the embellished squares to the drawers of the calendar using Mini Glue Dots®.

7. Have fun hunting for little treasures to fill up your boxes!

I wrote this blog post while participating on the Glue Dots® design team.

Friday, October 29, 2010

Wander

Wow, where has the week gone? I woke up this morning and realized I haven't posted anything here since last week! Here are 2 layouts I made a while back for A Walk Down Memory Lane. They both feature one of my favorite releases from Summer CHA; Basic Grey's Wander.


Happy Halloween!

Thursday, October 21, 2010

Truly a Challenge

My Mind's Eye is having another great sketch challenge, but for the first time since I found MME's challenges, I almost didn't play along. For the 1st time the sketch and challenge (to use black) really felt like a challenge. In fact, the layout I finally ended up with is version #2. The first version had a totally different picture, large circles that were covered in offset scallops, and was as my husband so nicely put "interesting." So, I scrapped that layout and headed back to the drawing board. I picked a new photo (which I should have thought of in the 1st place because the colors are perfect) and started from scratch. I tell you all of this not so you'll feel sorry for me, but so you know, sometimes we all get stuck.
Here's the sketch:

Here's my take:

I know I'm not going to be winning any awards for this layout, but I am happy to have something to show for all my time. I am also happy to have this photo scrapped. That baby in the ultrasound is now 4 years old, and he truly is wonderful (well...at least most days :-) Oh, and in case you have a 4-D ultrasound photo that needs scrapping, and you're thinking, wow those colors are perfect for that, the paper is all from My Mind's Eye's Andrea Victoria Collection.

Wednesday, October 20, 2010

My Funny Family

I had some pictures of my family just being funny together. They've been sitting, in a pile, waiting to be scrapped since this summer. When I saw Crate Paper's October Sketch Challenge I knew this group of photos would be perfect. Here's the sketch:
Here's my take:
Everything (paper, brads, rub-ons, chipboard, stickers) is from Crate Paper's Brook Collection. The hardest part for me with this layout was purposely not lining up the squares perfectly. I'm usually a clean and straight lines kind of gal. However, this layout just seemed to need a bit of wonkyness (yeah its a word:-) Here are a few close ups of the details on this layout.
Thanks for stopping by!

Monday, October 18, 2010

A Grandmother's Love

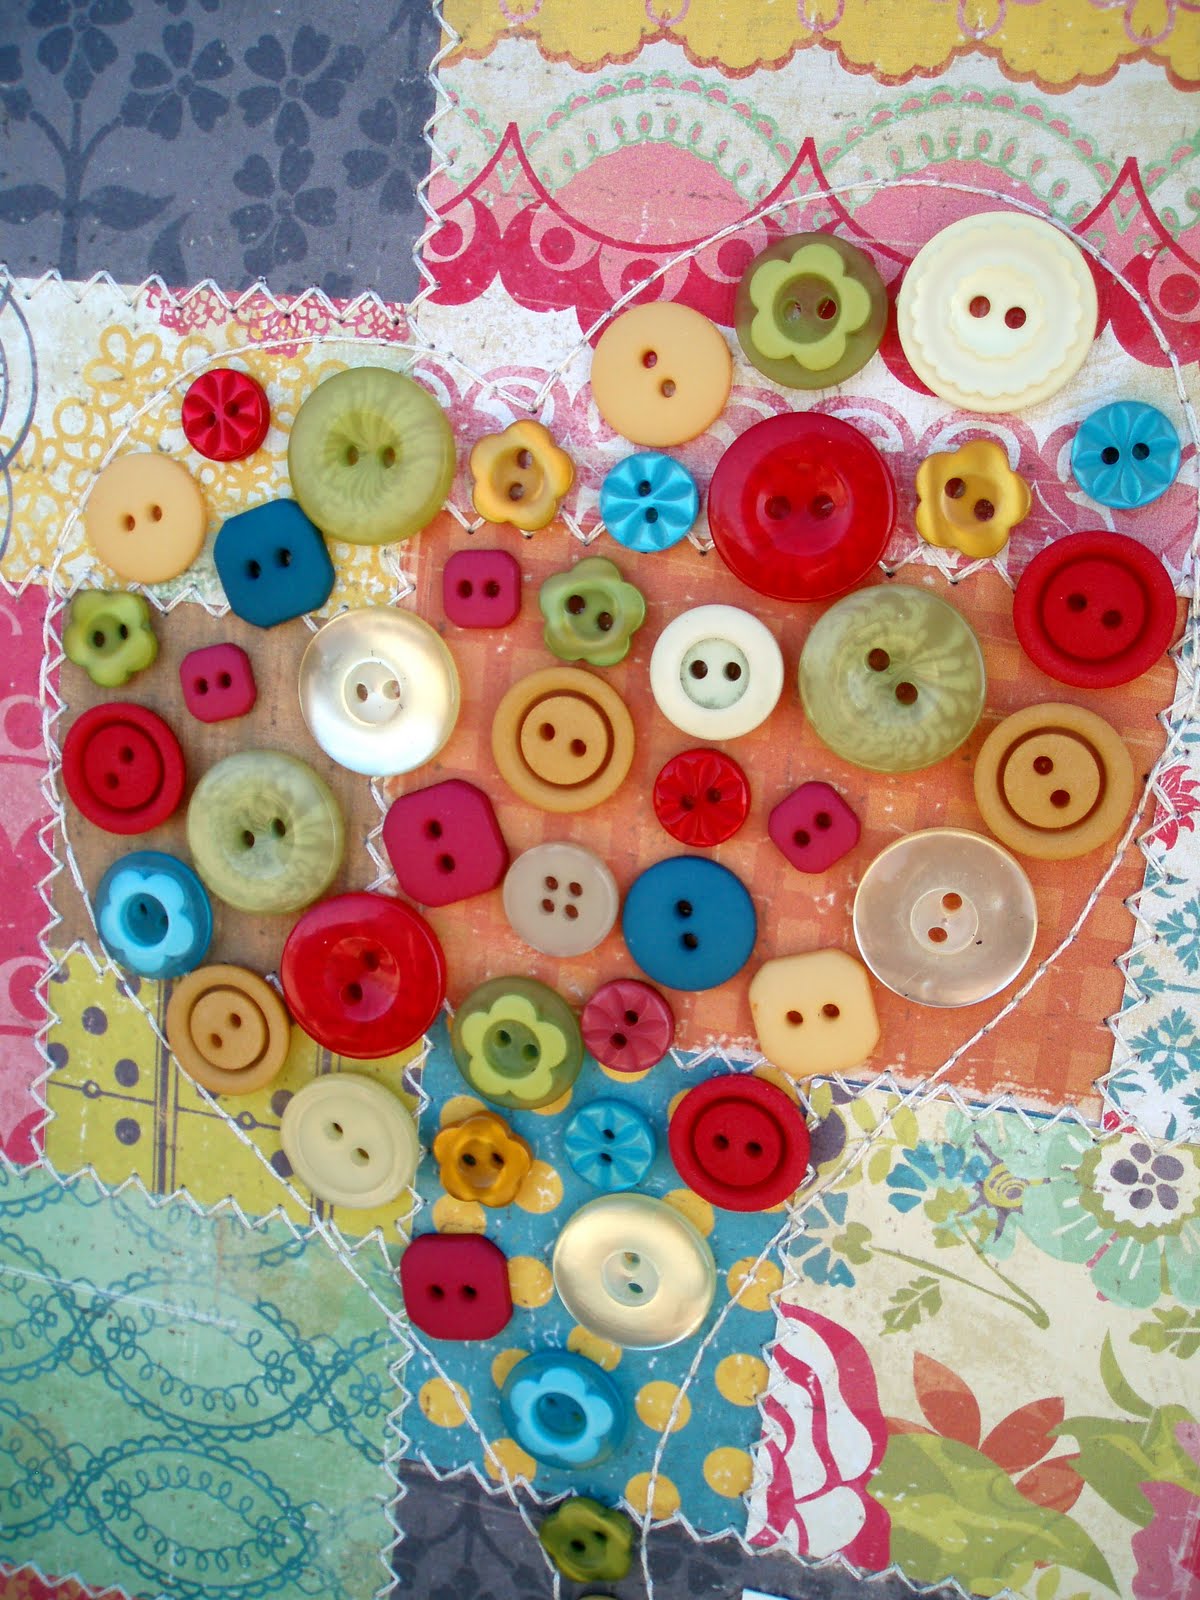
This month Glue Dots® challenged its Dottesses to create a gift. The timing of this could not be more perfect, as I have been planing to make a gift for a friend who recently found out she is going to be a grandma. She's so excited and I just can't help wanting to share in her joy. Here's what I came up with:

One of my favorite uses for Glue Dots® is adhering buttons to projects. Since there's no drying time involved, I could adhered all of these buttons to the picture in about 5 minutes with no mess.
Making this picture was pretty easy, it just took a bit of time since I did all the stitching by hand. If you stitch with a machine or skip the zig zag stitching all together, it would go much faster. Here are the step by step instructions for making one of your own.
1. Find a frame that suits your decor. This is an 8" x 10" Better Homes and Gardens frame.
2. Choose a number of sheets of patterned paper to create your background. This is a great way to use up smaller pieces of patterned paper. I used Crate Paper Restoration paper.
3. Cut a piece of scrap paper to fit your frame (i.e. because my frame is 8"x 10", I cut an 8" x 10" piece of scrap paper). Use this piece of paper as a base on which to arrange your patterned paper. Use Glue Dots® Removable adhesive to temporarily hold your paper in place while you are arranging your background.
4. When you have decided where all of your background pieces are to go, adhere them permanently with Glue Dots® Dot 'n Go.
5. Stitch around the edges of your background papers.
6. Stitch the shape of a heart onto your background paper.
7. Arrange buttons inside the heart. Use Mini Glue Dots® to adhere buttons to background.
8. Print "Always and forever is a Grandmother's love" on card stock. Cut out and adhere to background with Mini Glue Dots®.
I wrote this blog post while participating on the Glue Dots® design team.

Friday, October 15, 2010

More Flowers!

It seems I am on a bit of a paper flower kick lately. My mother-in-law has spent this week in the hospital. She's also a new paper crafter (I converted her a little under a year ago). I wanted to do a little something for her, so I decided to make a paper bouquet to brighten her room.
The papers are My Mind's Eye's Ohh La La. There are 2 different types of flowers. Both were cut with my Silhouette and have copper wire stems. Since my mother-in-law really enjoys stamping (and is currently trying to build up her stamp collection) I filled the vase with pretty wood mounted stamps instead of filling the vase with rocks or paper. I really love the look of it.
I layered 2 different ribbons on top of each other and then wrapped them around the neck of the vase to give a little extra color pop. I have been looking for the perfect ribbon adhesive FOREVER, and I've finally found it! I have now used Glue Dots® Continuous Glue Line to adhere ribbon to ribbon, ribbon to glass, ribbon to paper, and ribbon to wood. They all stuck like...well, glue!

I wrote this blog post while participating on the Glue Dots® design team.

Thursday, October 14, 2010

Featured Manufacturers

Just a quick post today to remind you that this months Featured Manufacturers over at A Walk Down Memory Lane are Woodware USA and Studio Calico. That means you get 25% off of anything made by those companies. Here are a few things I've created with Woodware and Studio Calico:

Paper: Studio Calico Anthology (Aperture), Studio Calico Home front (Dollhouse, Conversation Piece)
Stamp: Woodware Jane’s Script
Accessories: Studio Calico Anthology Fabrips
Tools: Fiskars Scallop Edge Punch, WR Memory Keepers Corner Chomper

Paper: Crate Paper School Spirit (Ruler, Pep Rally, Chalk Board)
Stamp: Woodware School Tots
Accessories: Pleated Ribbon By the Yard (Brown), Crate Paper School Spirit Phrases Stickers
Tools: Fiskars Apron Lace Punch, Fiskars Scallop Edge Punch,
Markers: Copic (YG03, R29, E29)

Paper: Studio Calico Anthology, Studio Calico Home Front
Accessories: Studio Calico Anthology Fabrips, Pebbles Candy Dots (Green)
Tools: Fiskars Apron Lace Punch, Fiskars Upper Crest Edge Punch,